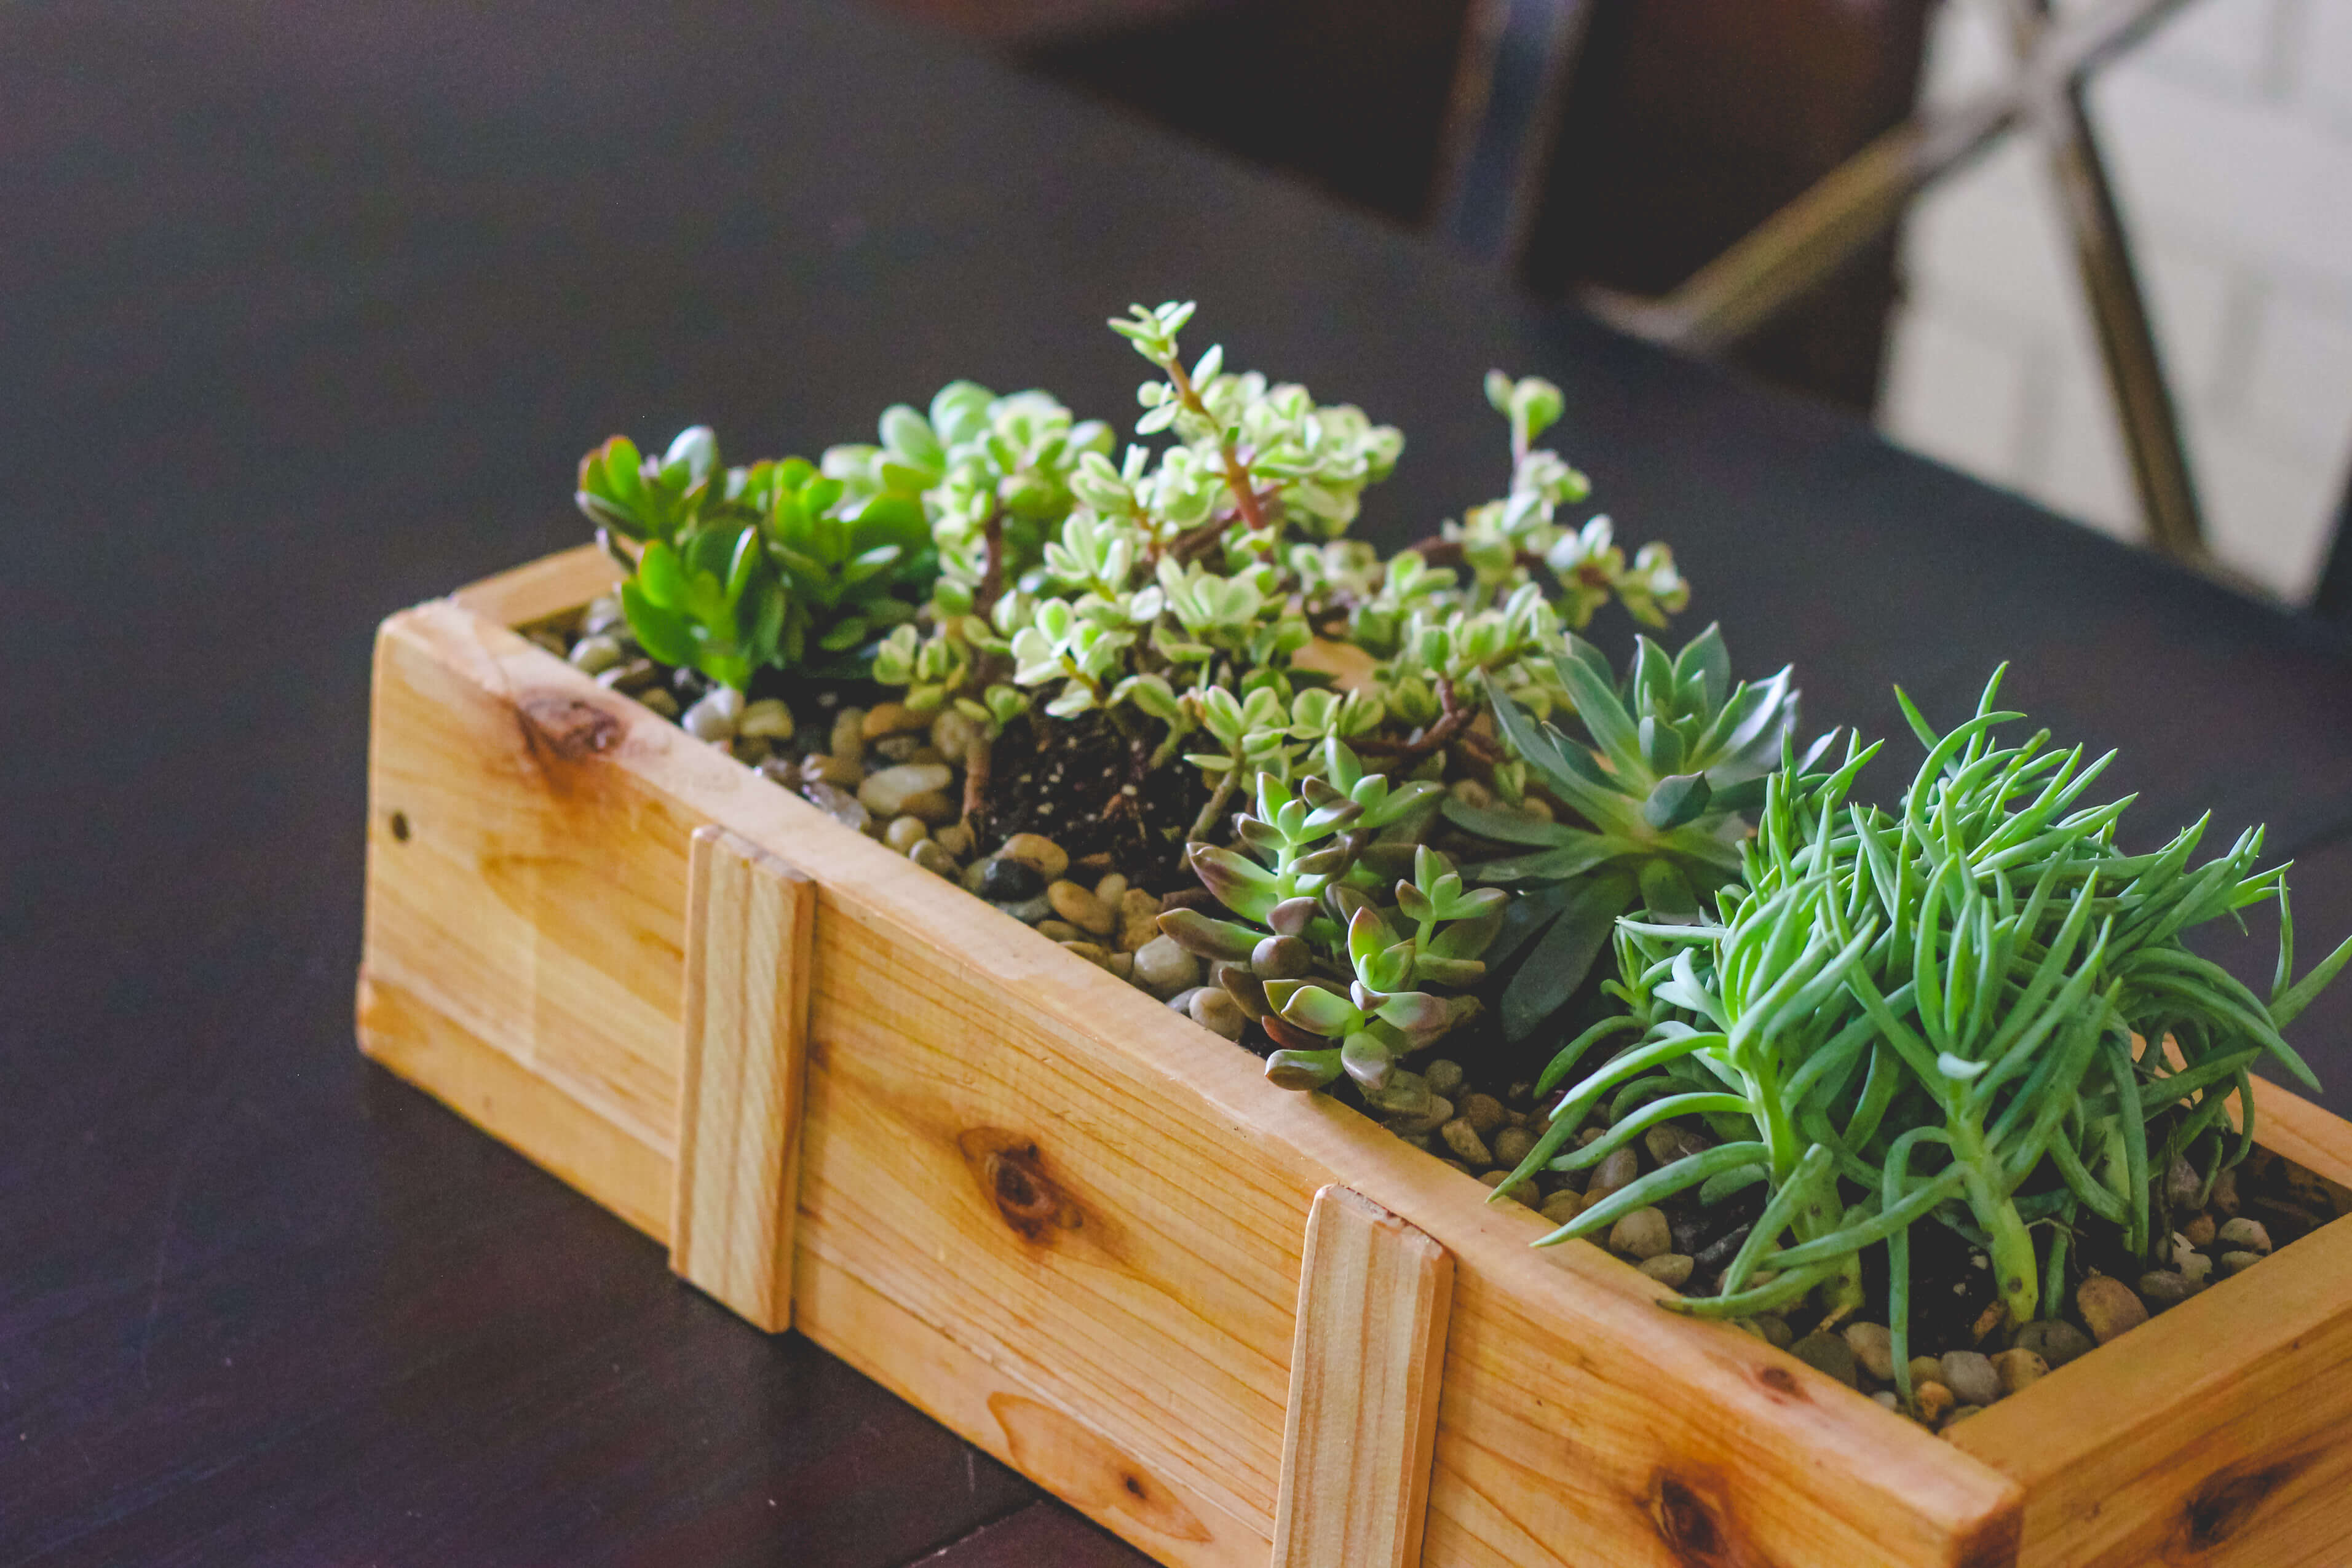
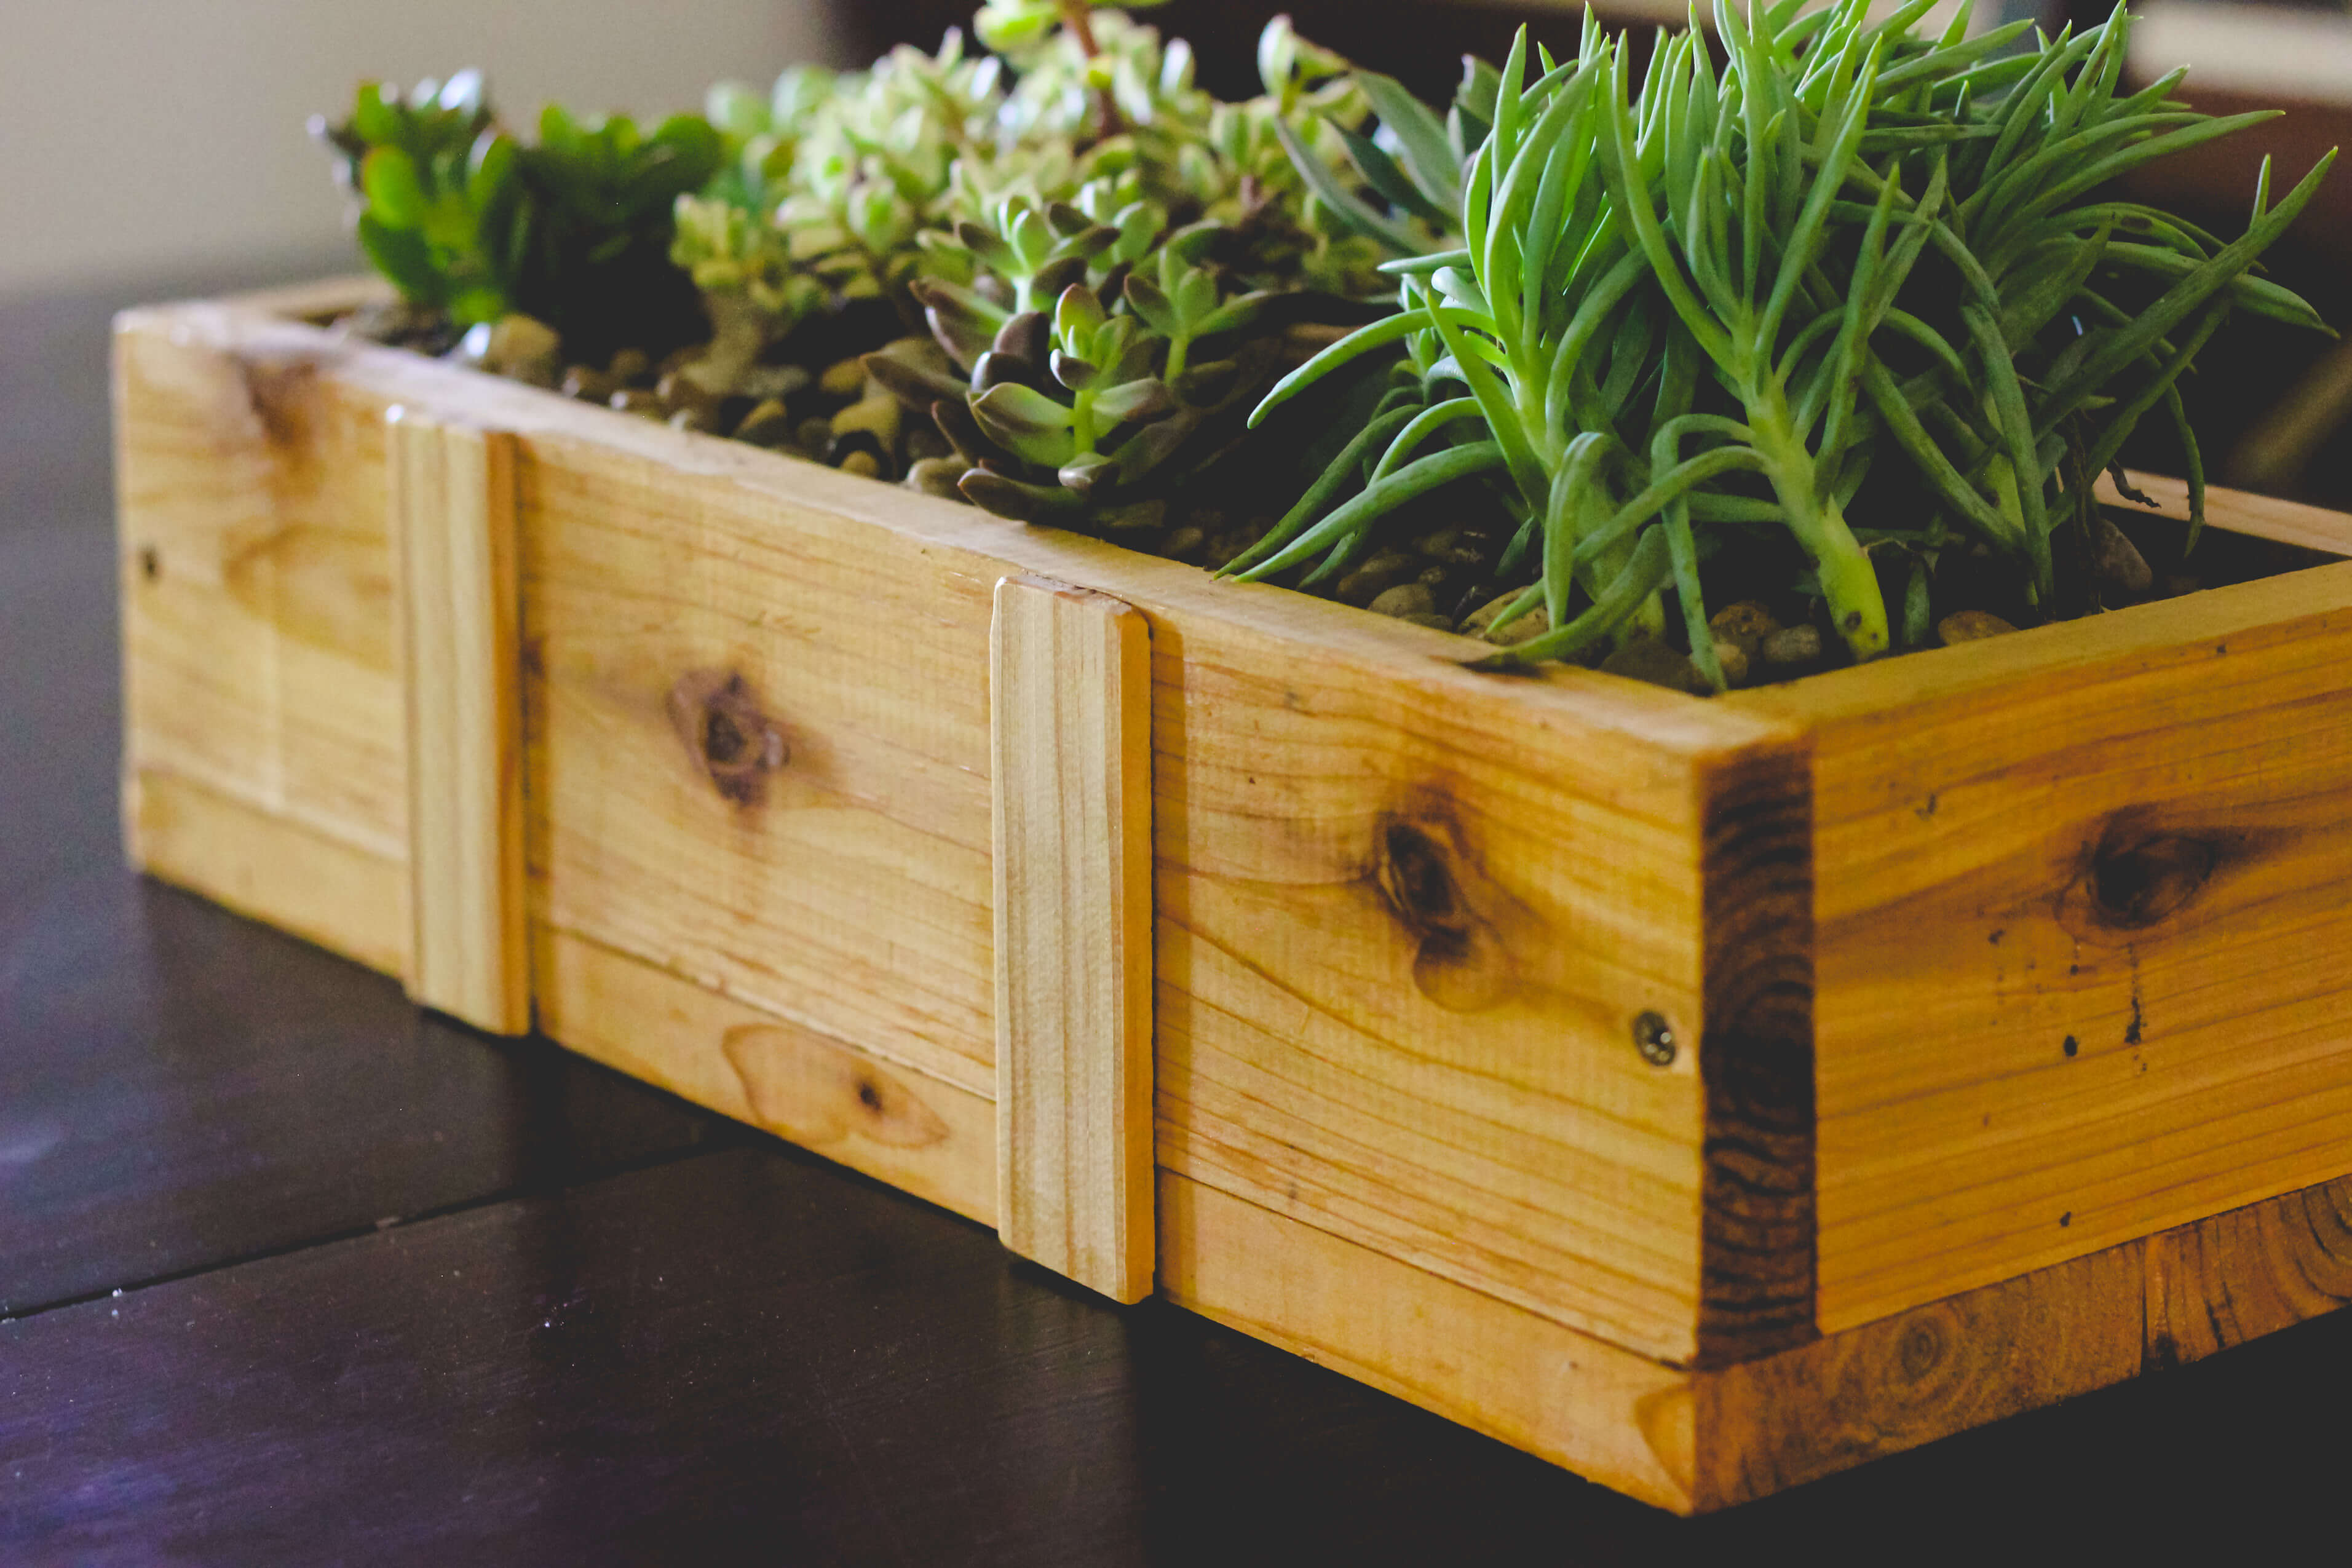
I don’t know what it is about this succulent planter.
Maybe “soulmate” is a strong word, but for me and my succulents, we have a special thing going.
I’m seriously considering running away with my new succulent planter. Sorry, Kevin, succulents have my heart.
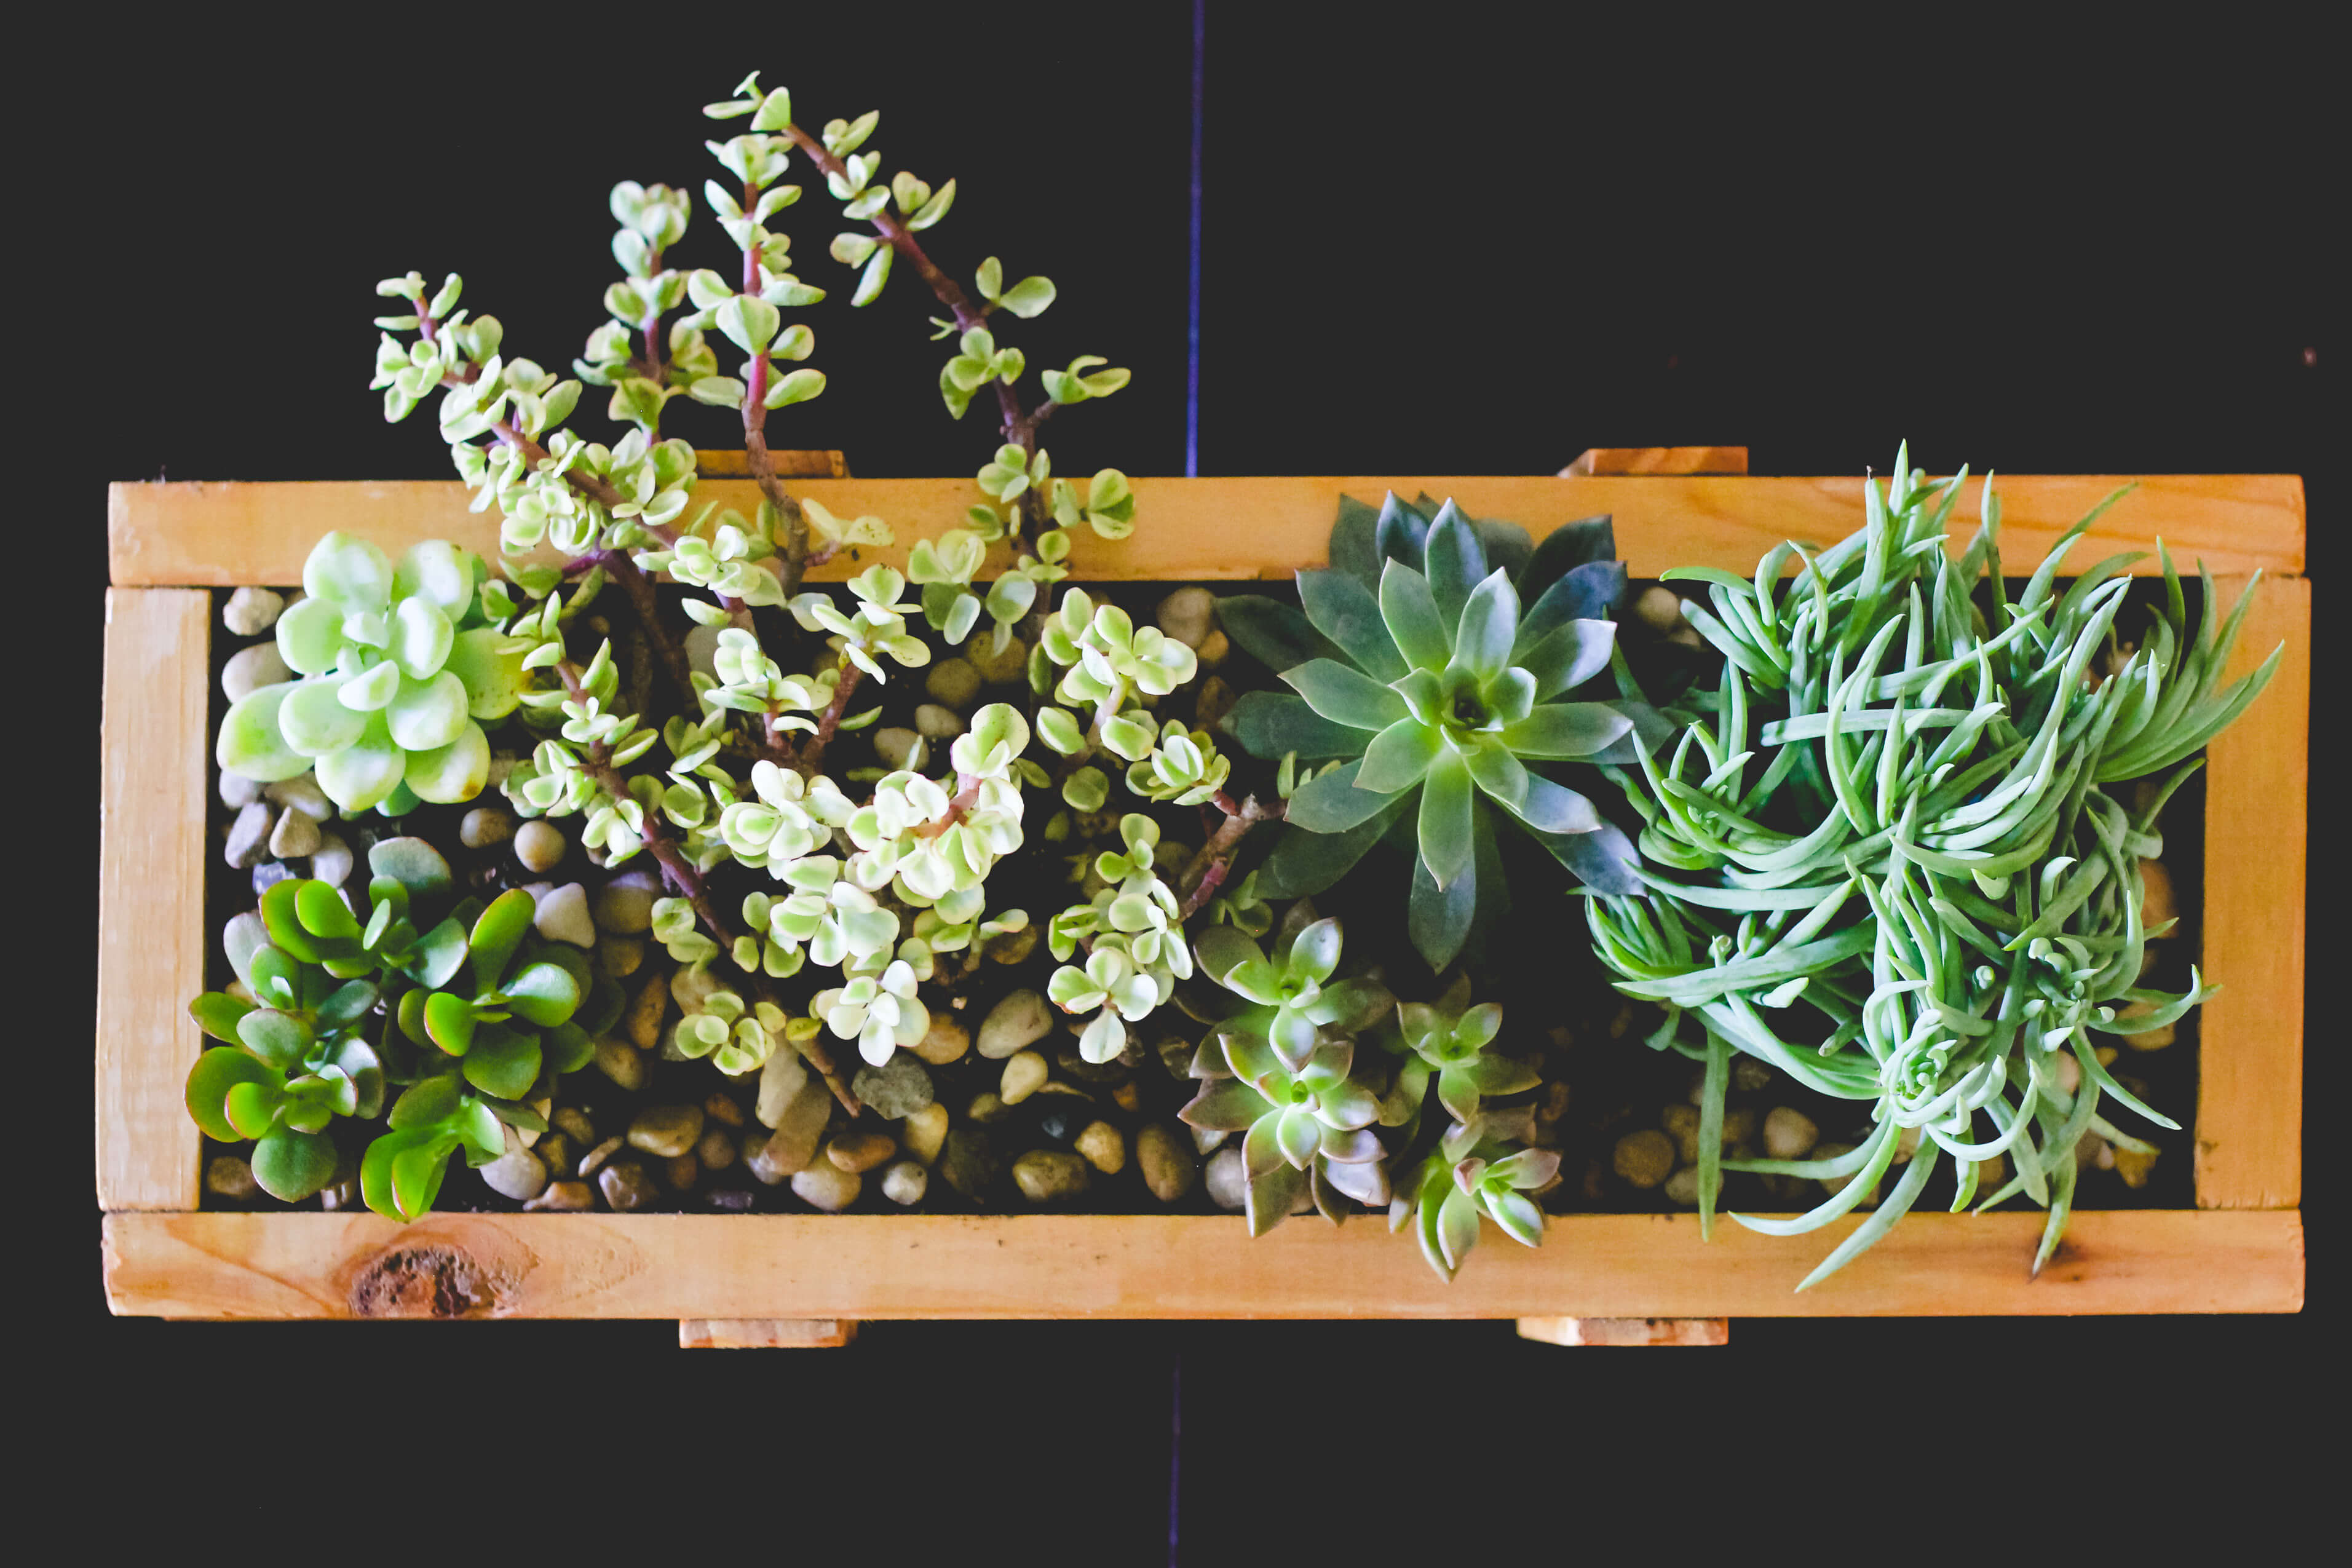
If you haven’t heard about succulents, they are a slow-growing variety of plants that thrive indoors. They require a low amount of water because they store their water & nutrients in their gorgeous leaves. There are hundreds of different varieties and a succulent planter makes the perfect centerpiece. So I made one.
And my heart is going pitter-patter over it. Because we’re getting married now, me and this succulent planter.
Succulents & Farmhouse Style
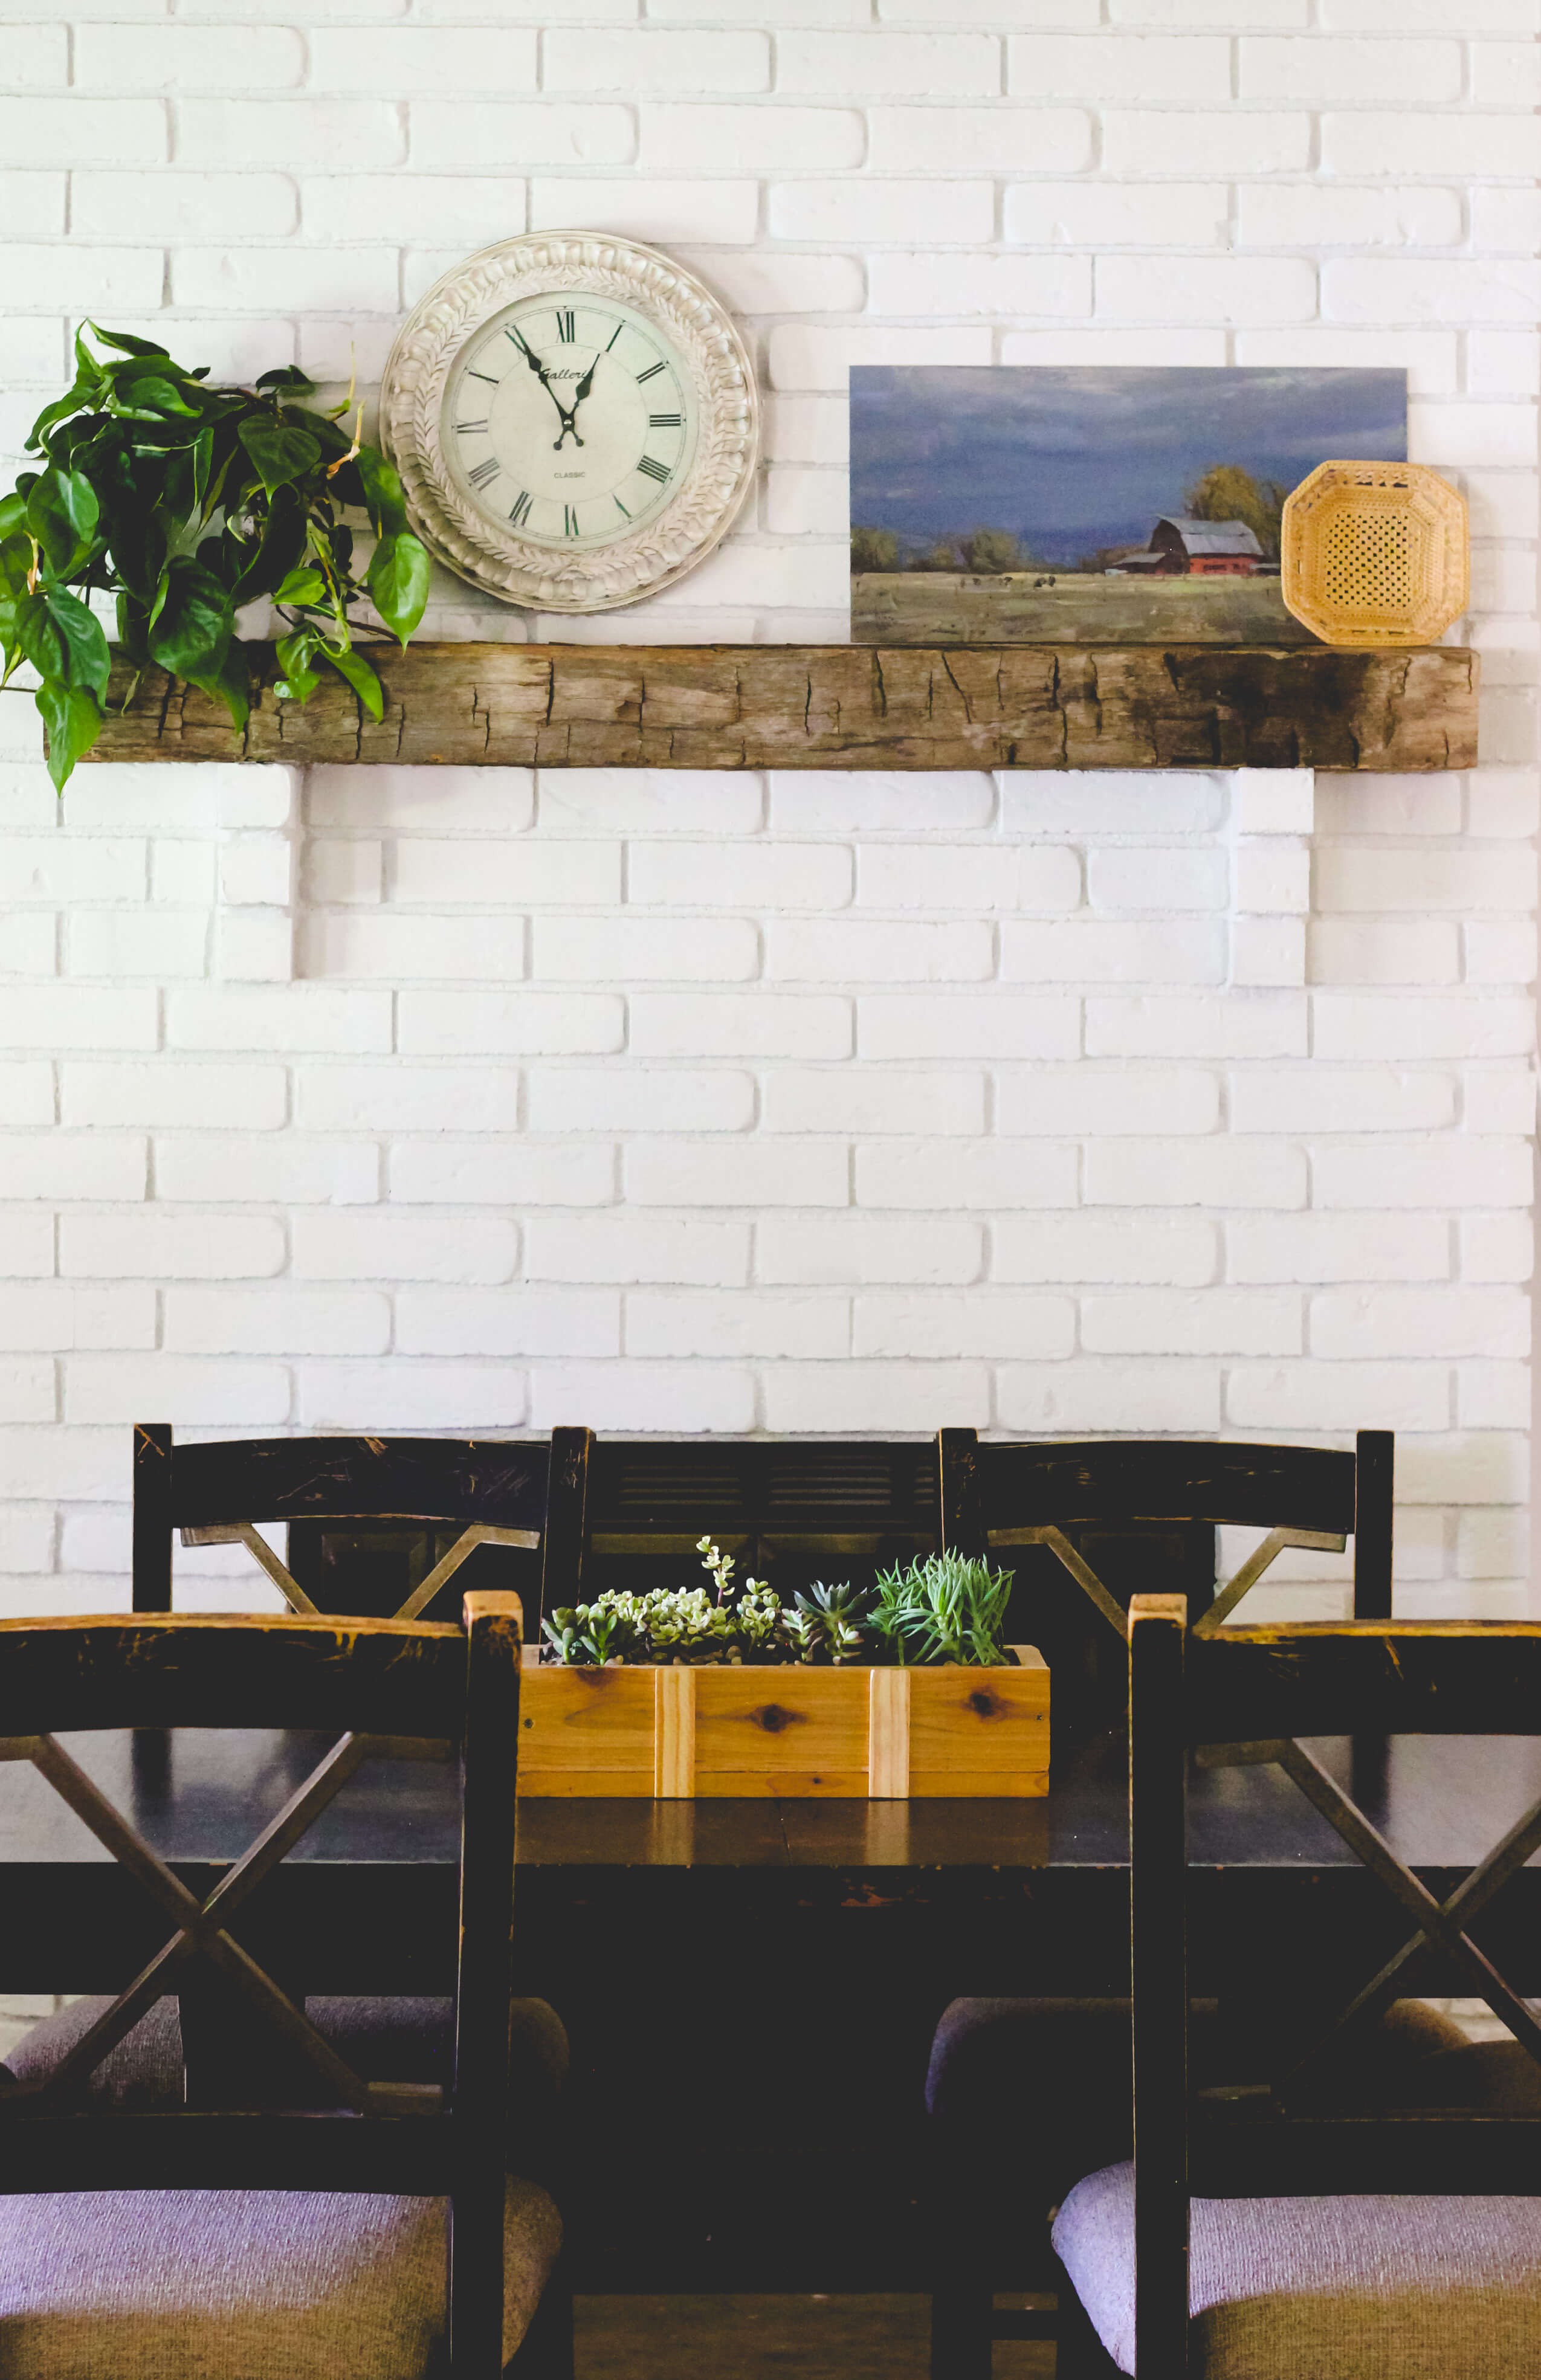
Recently, I wrote an article all about the SIX farmhouse styles. (It’s harder than you think to decide on a style!) I settled on the Bohemian & Modern farmhouse style as my favorite. I love white, crisp walls, indoor plants, and minimal decorating.
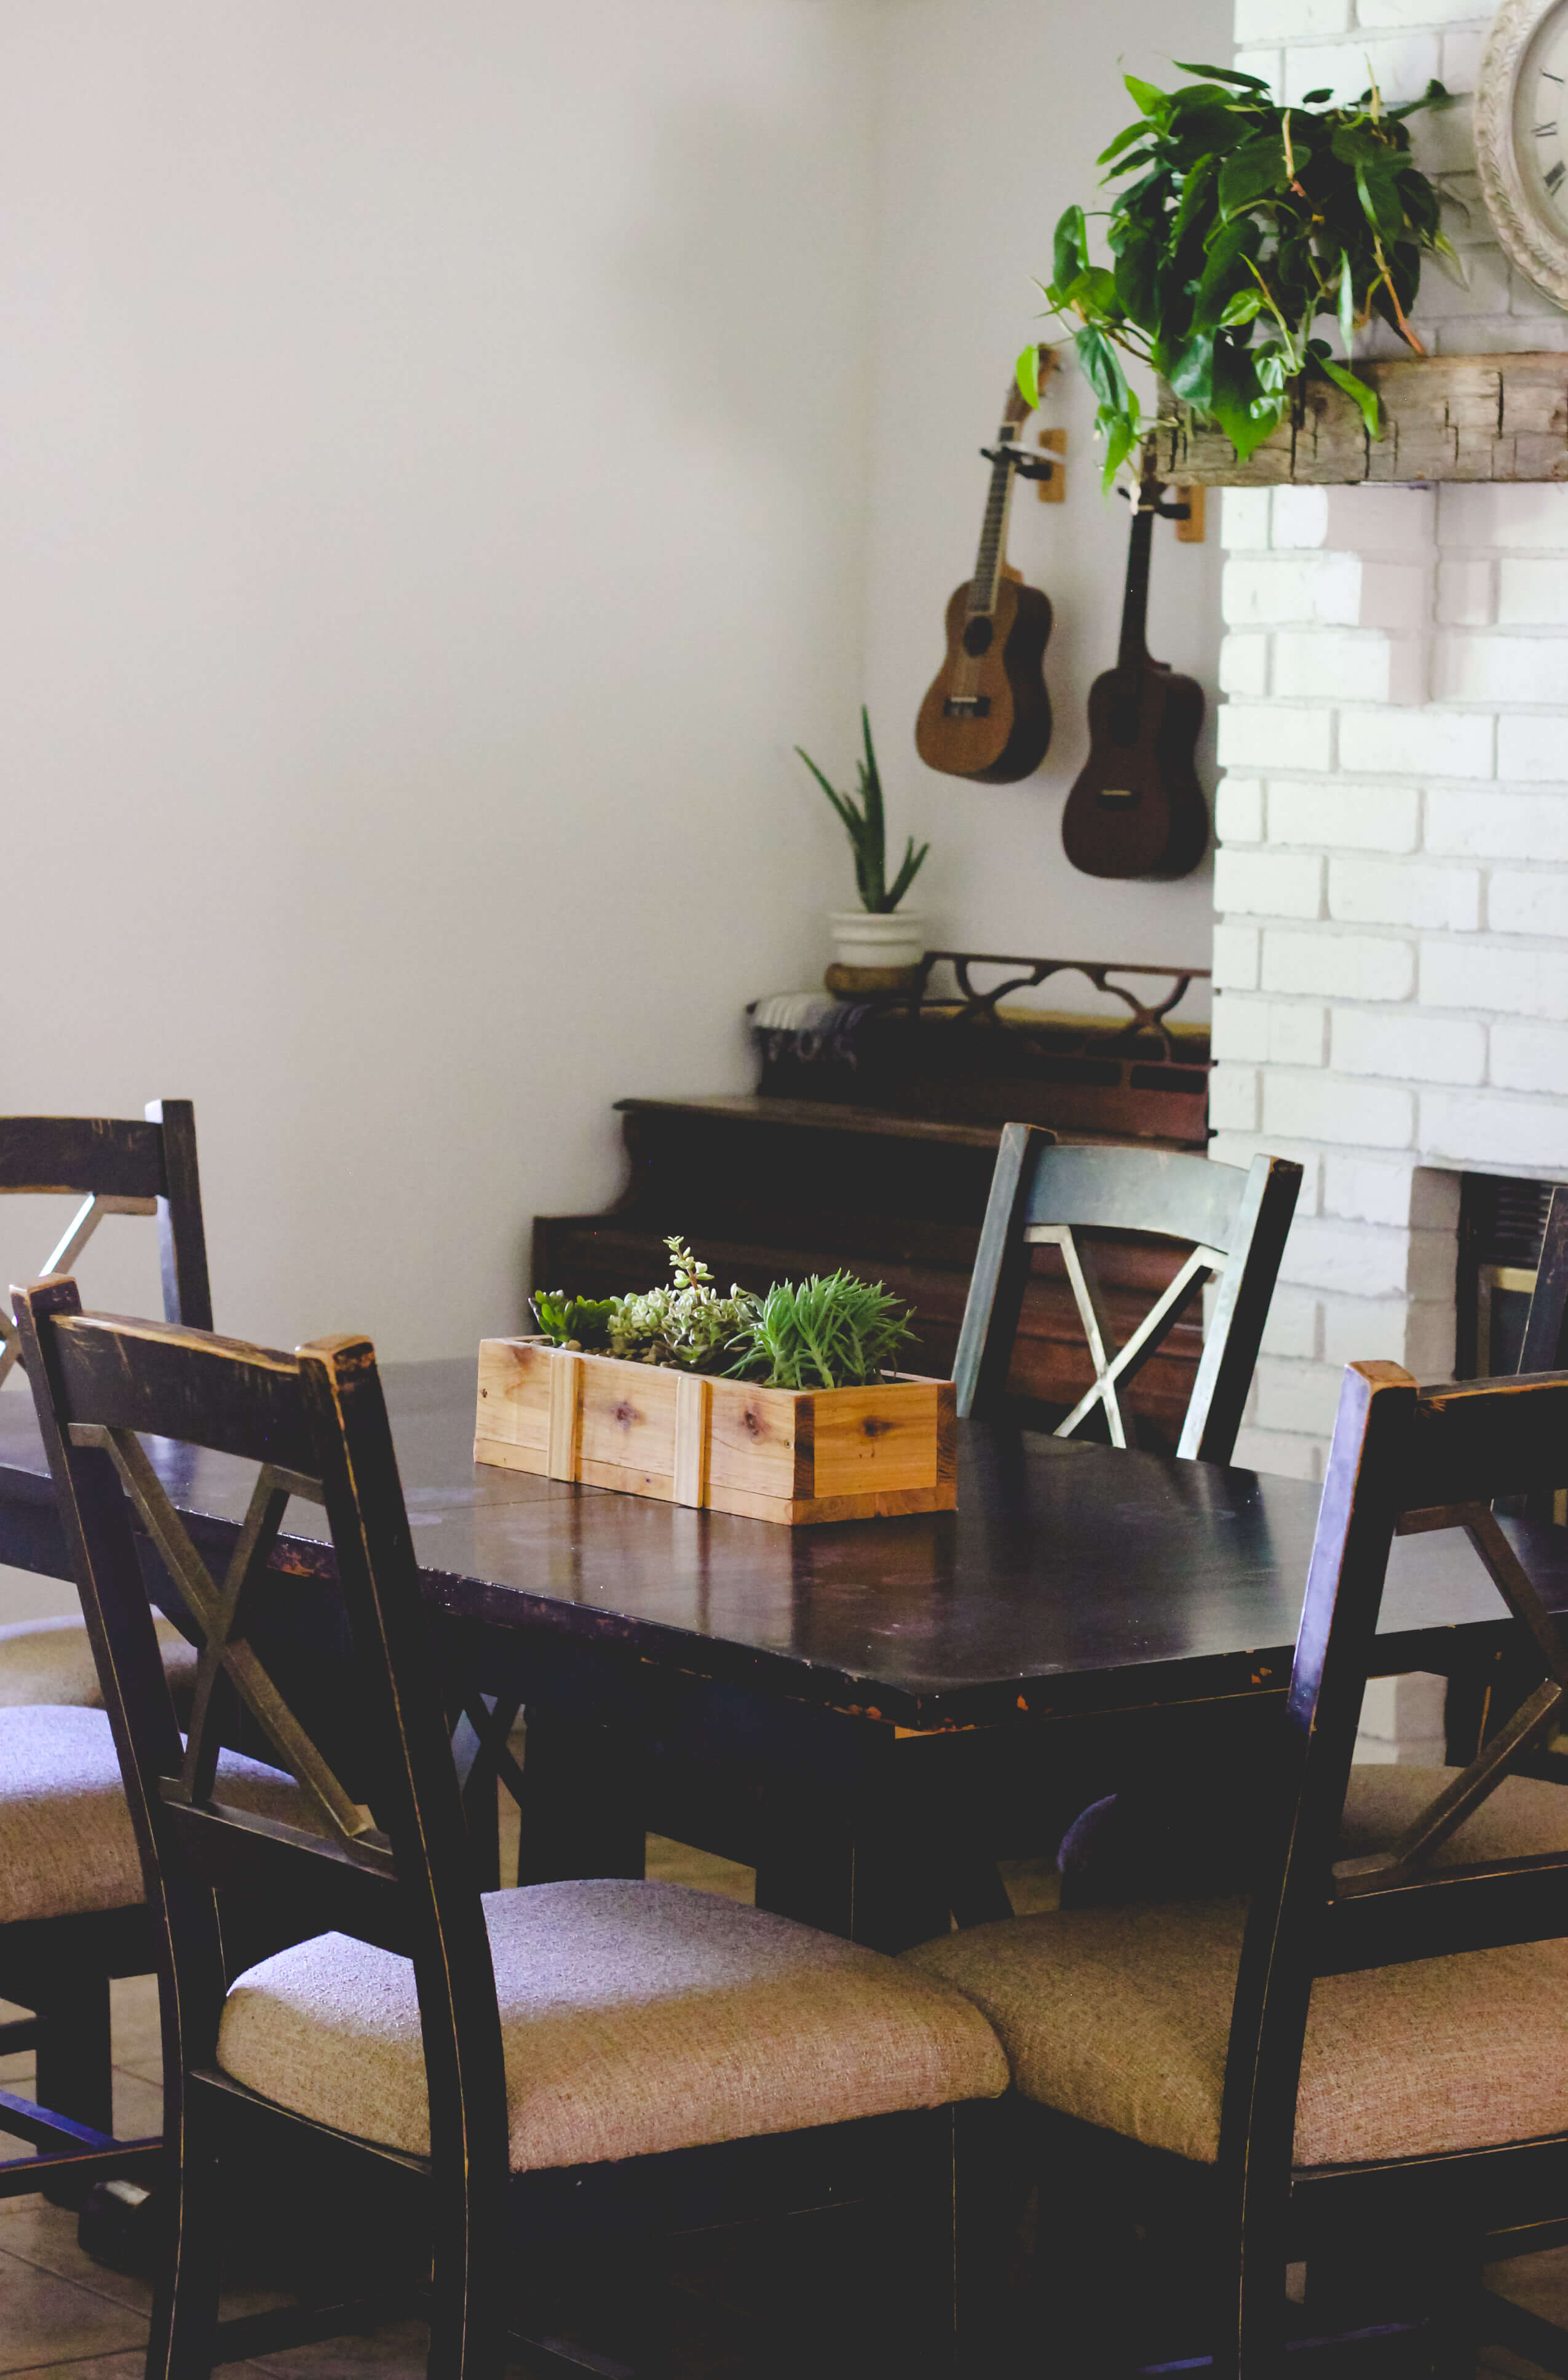
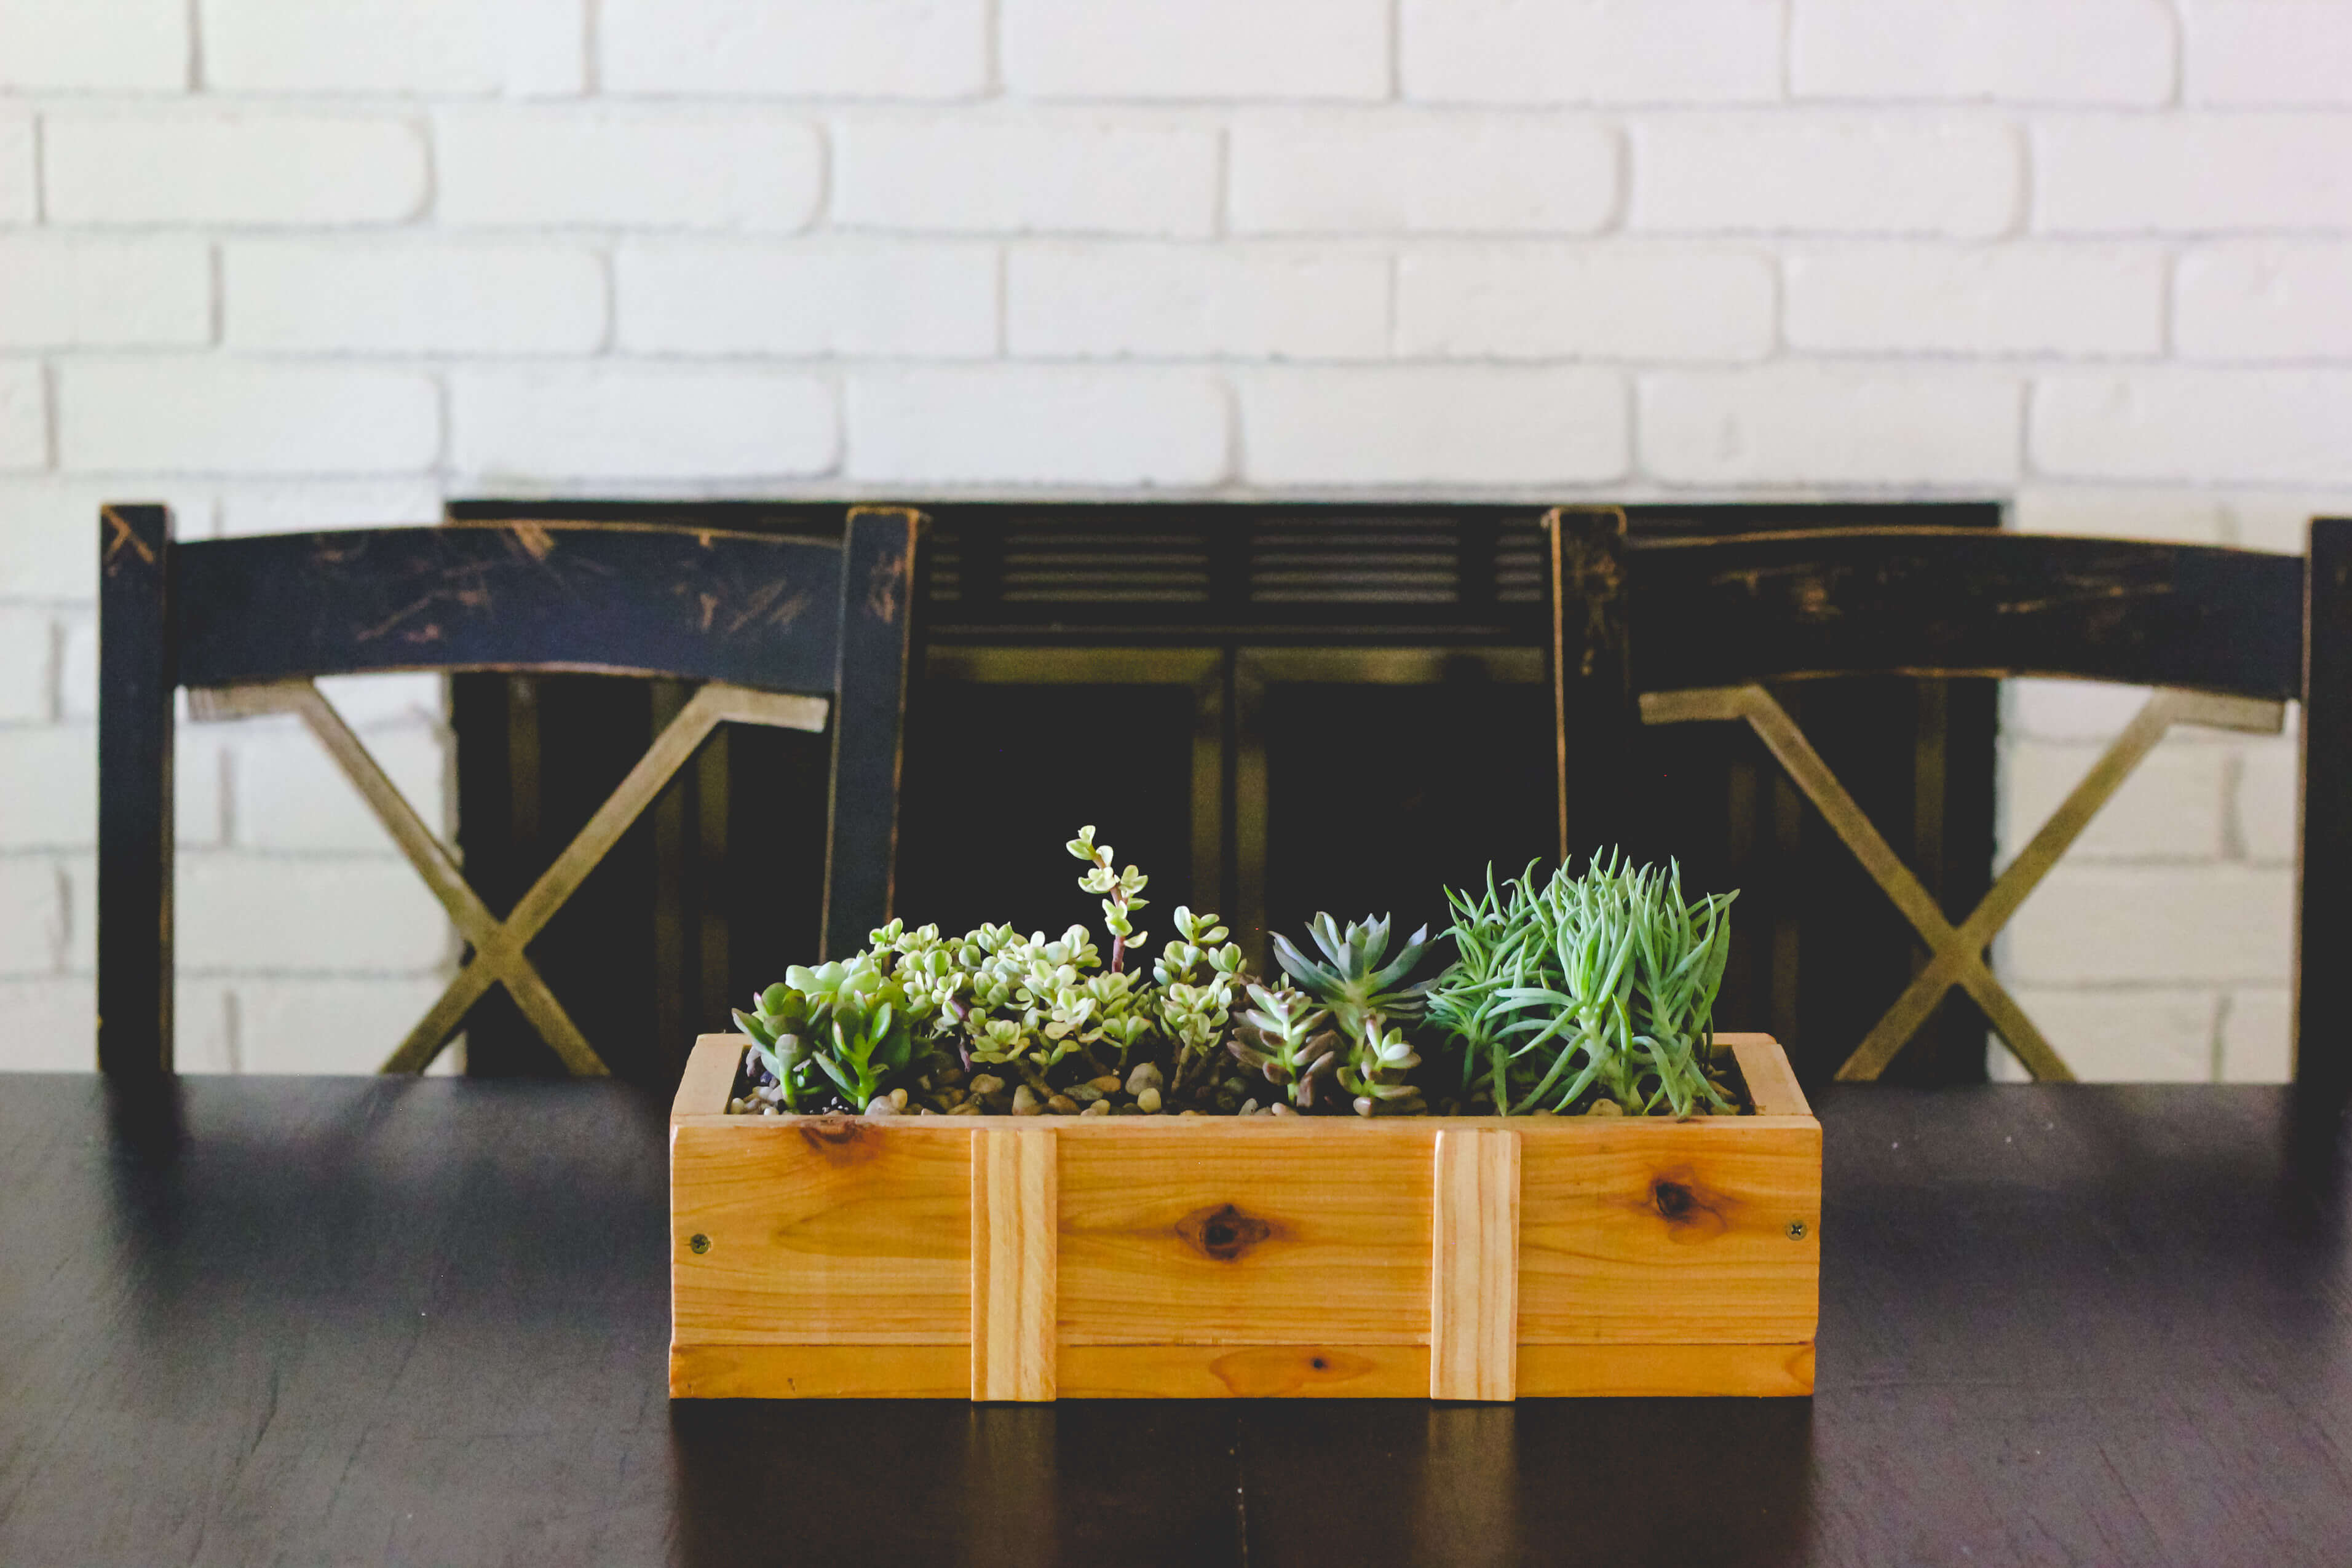
This succulent planter was the perfect addition to our dark, rustic kitchen table.
Making your own Wood Succulent Planter
Here’s a short tutorial of how I made it. It took just an hour to throw this together — but a lifetime of love, amiright?
STEP 1) Gather Supplies
You’ll need:
- Wood – We used a 1x4x10 piece of cedar and cut it into smaller sections.
- Trim – We used a small 1/4 inch x 2 inch piece.
- Wood Screws
- Stain or Lacquer
- Finishing Nails or Liquid Nails (to attach the trim to the sides)
STEP 2) Cut & Sand your wood pieces.
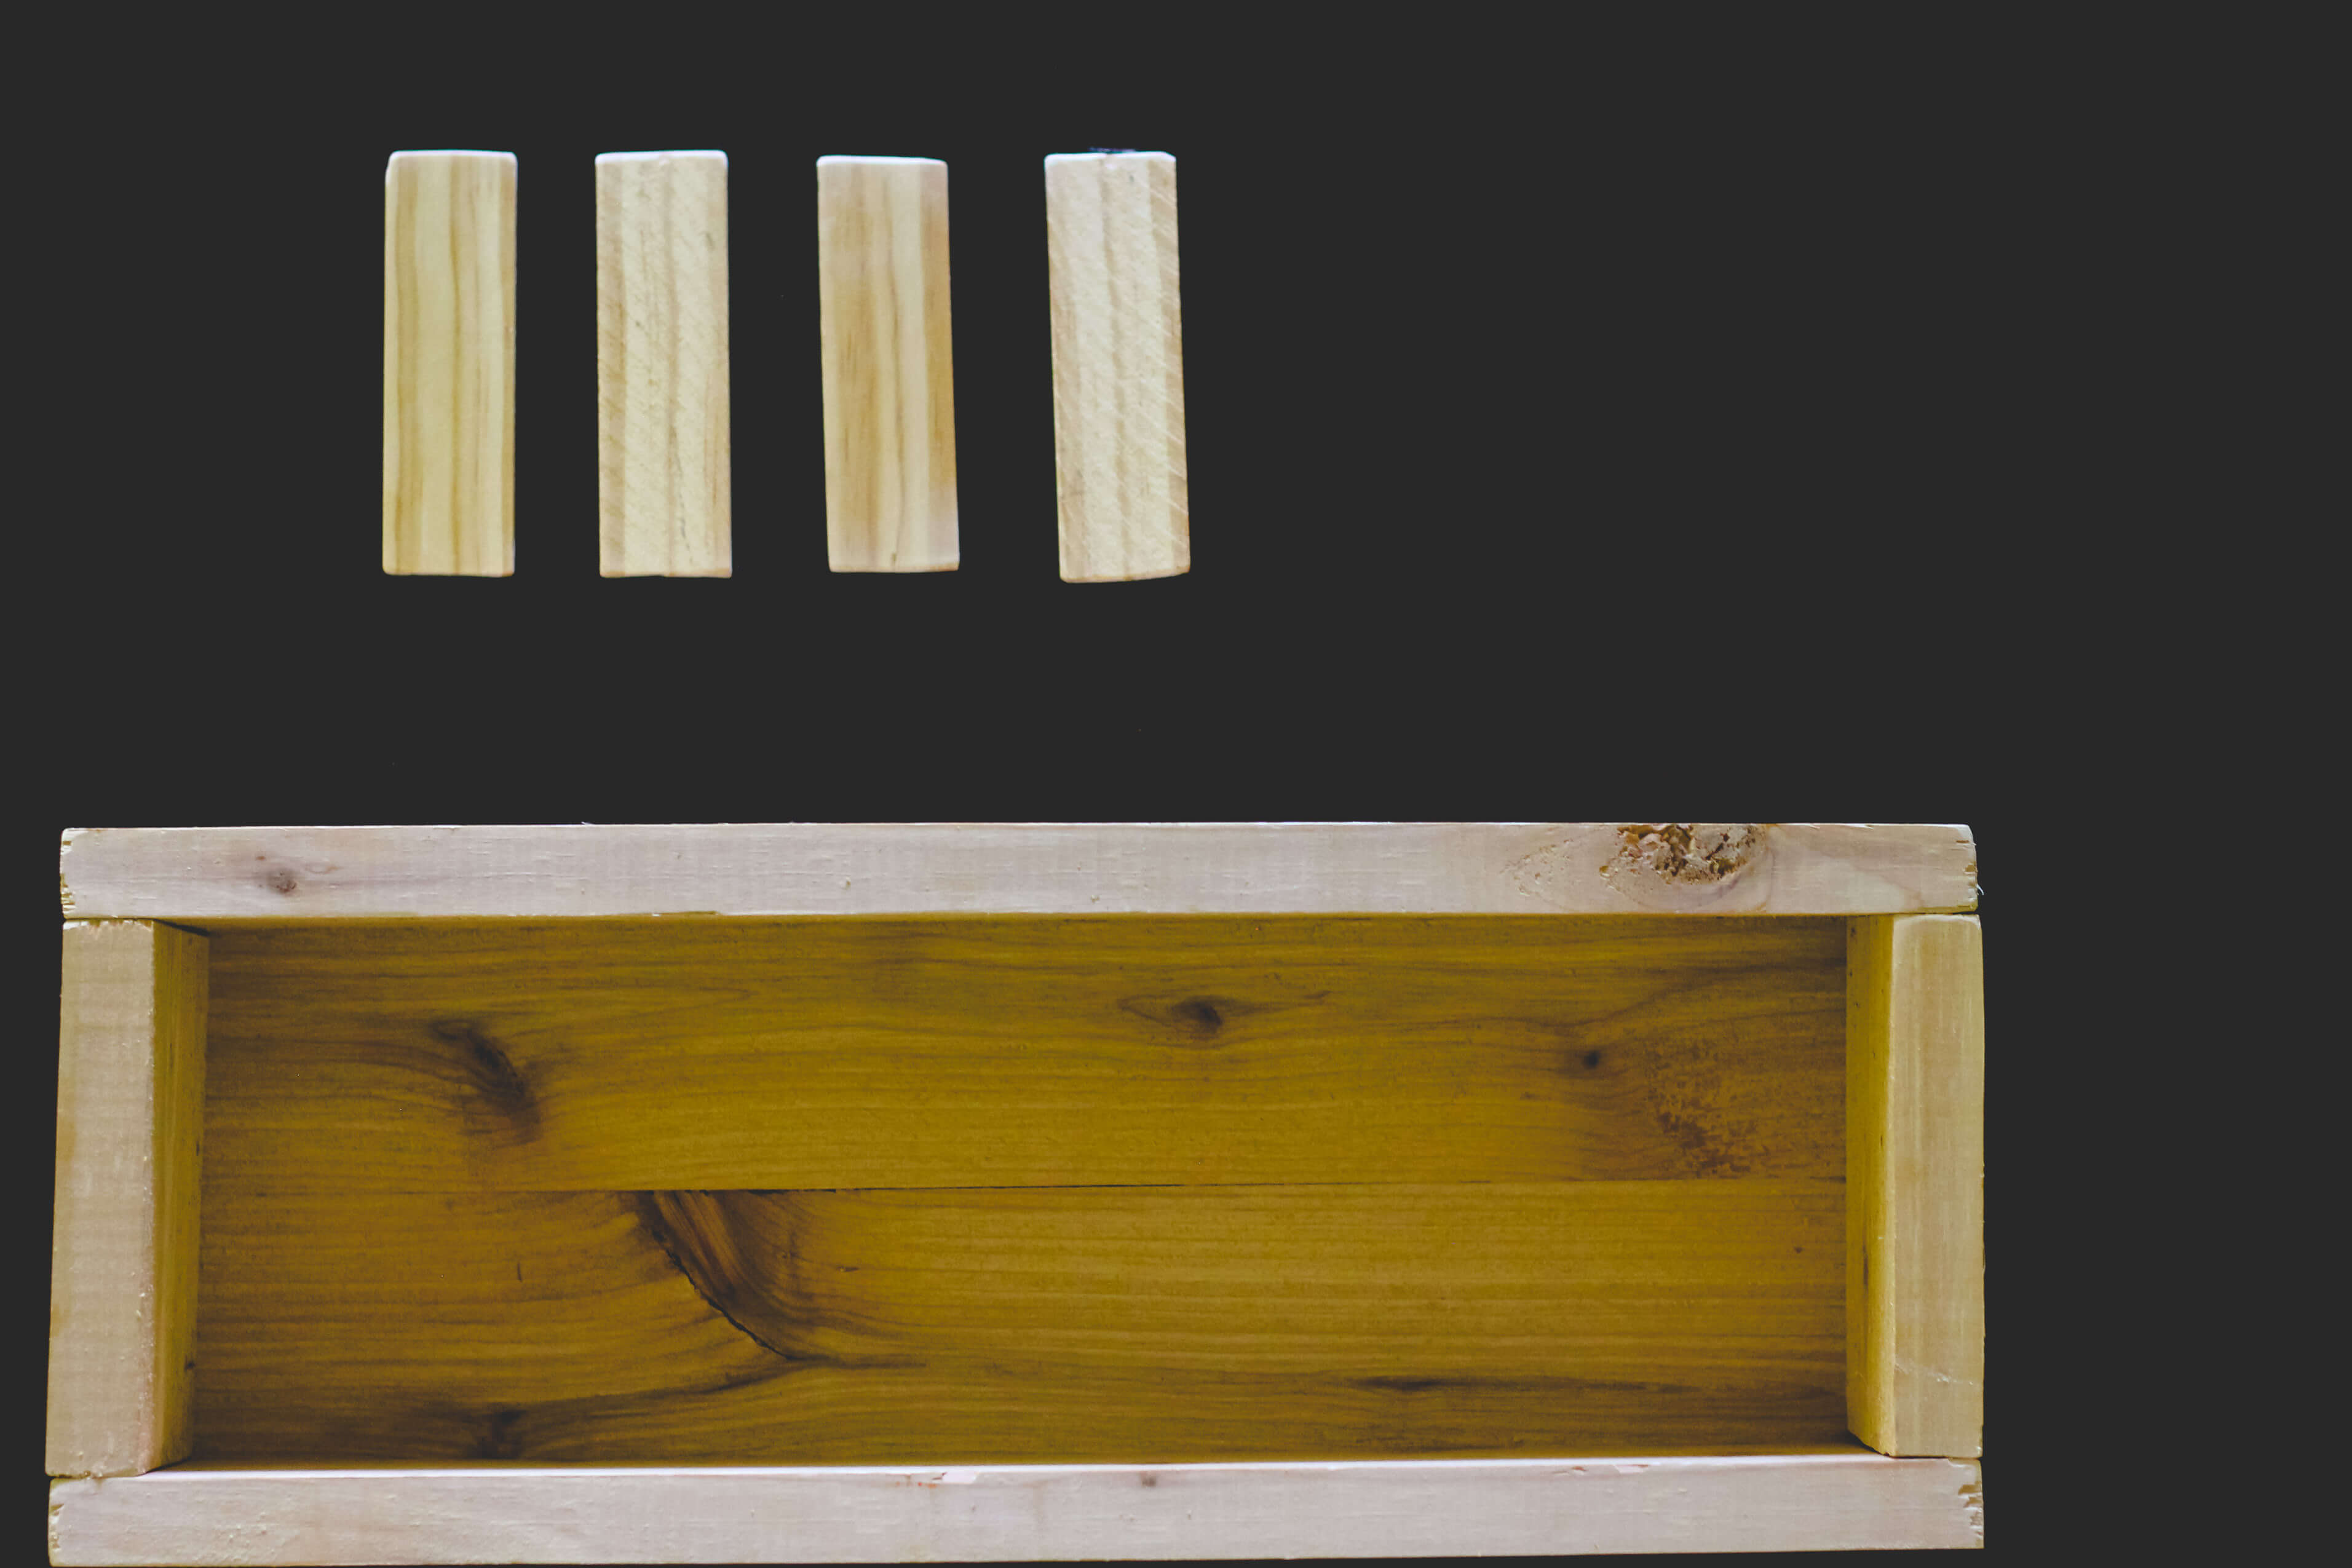
- For the Wood – We cut our wood into (4) 18 inch long sections for the sides and bottom. We also cut (2) 5 1/8 inch sections for the ends.
- For the Trim – We used a small 1/4 inch x 2 inch piece and cut it into (4) 4 3/8 inch long pieces.
We sanded it with a small palm sander like this one.
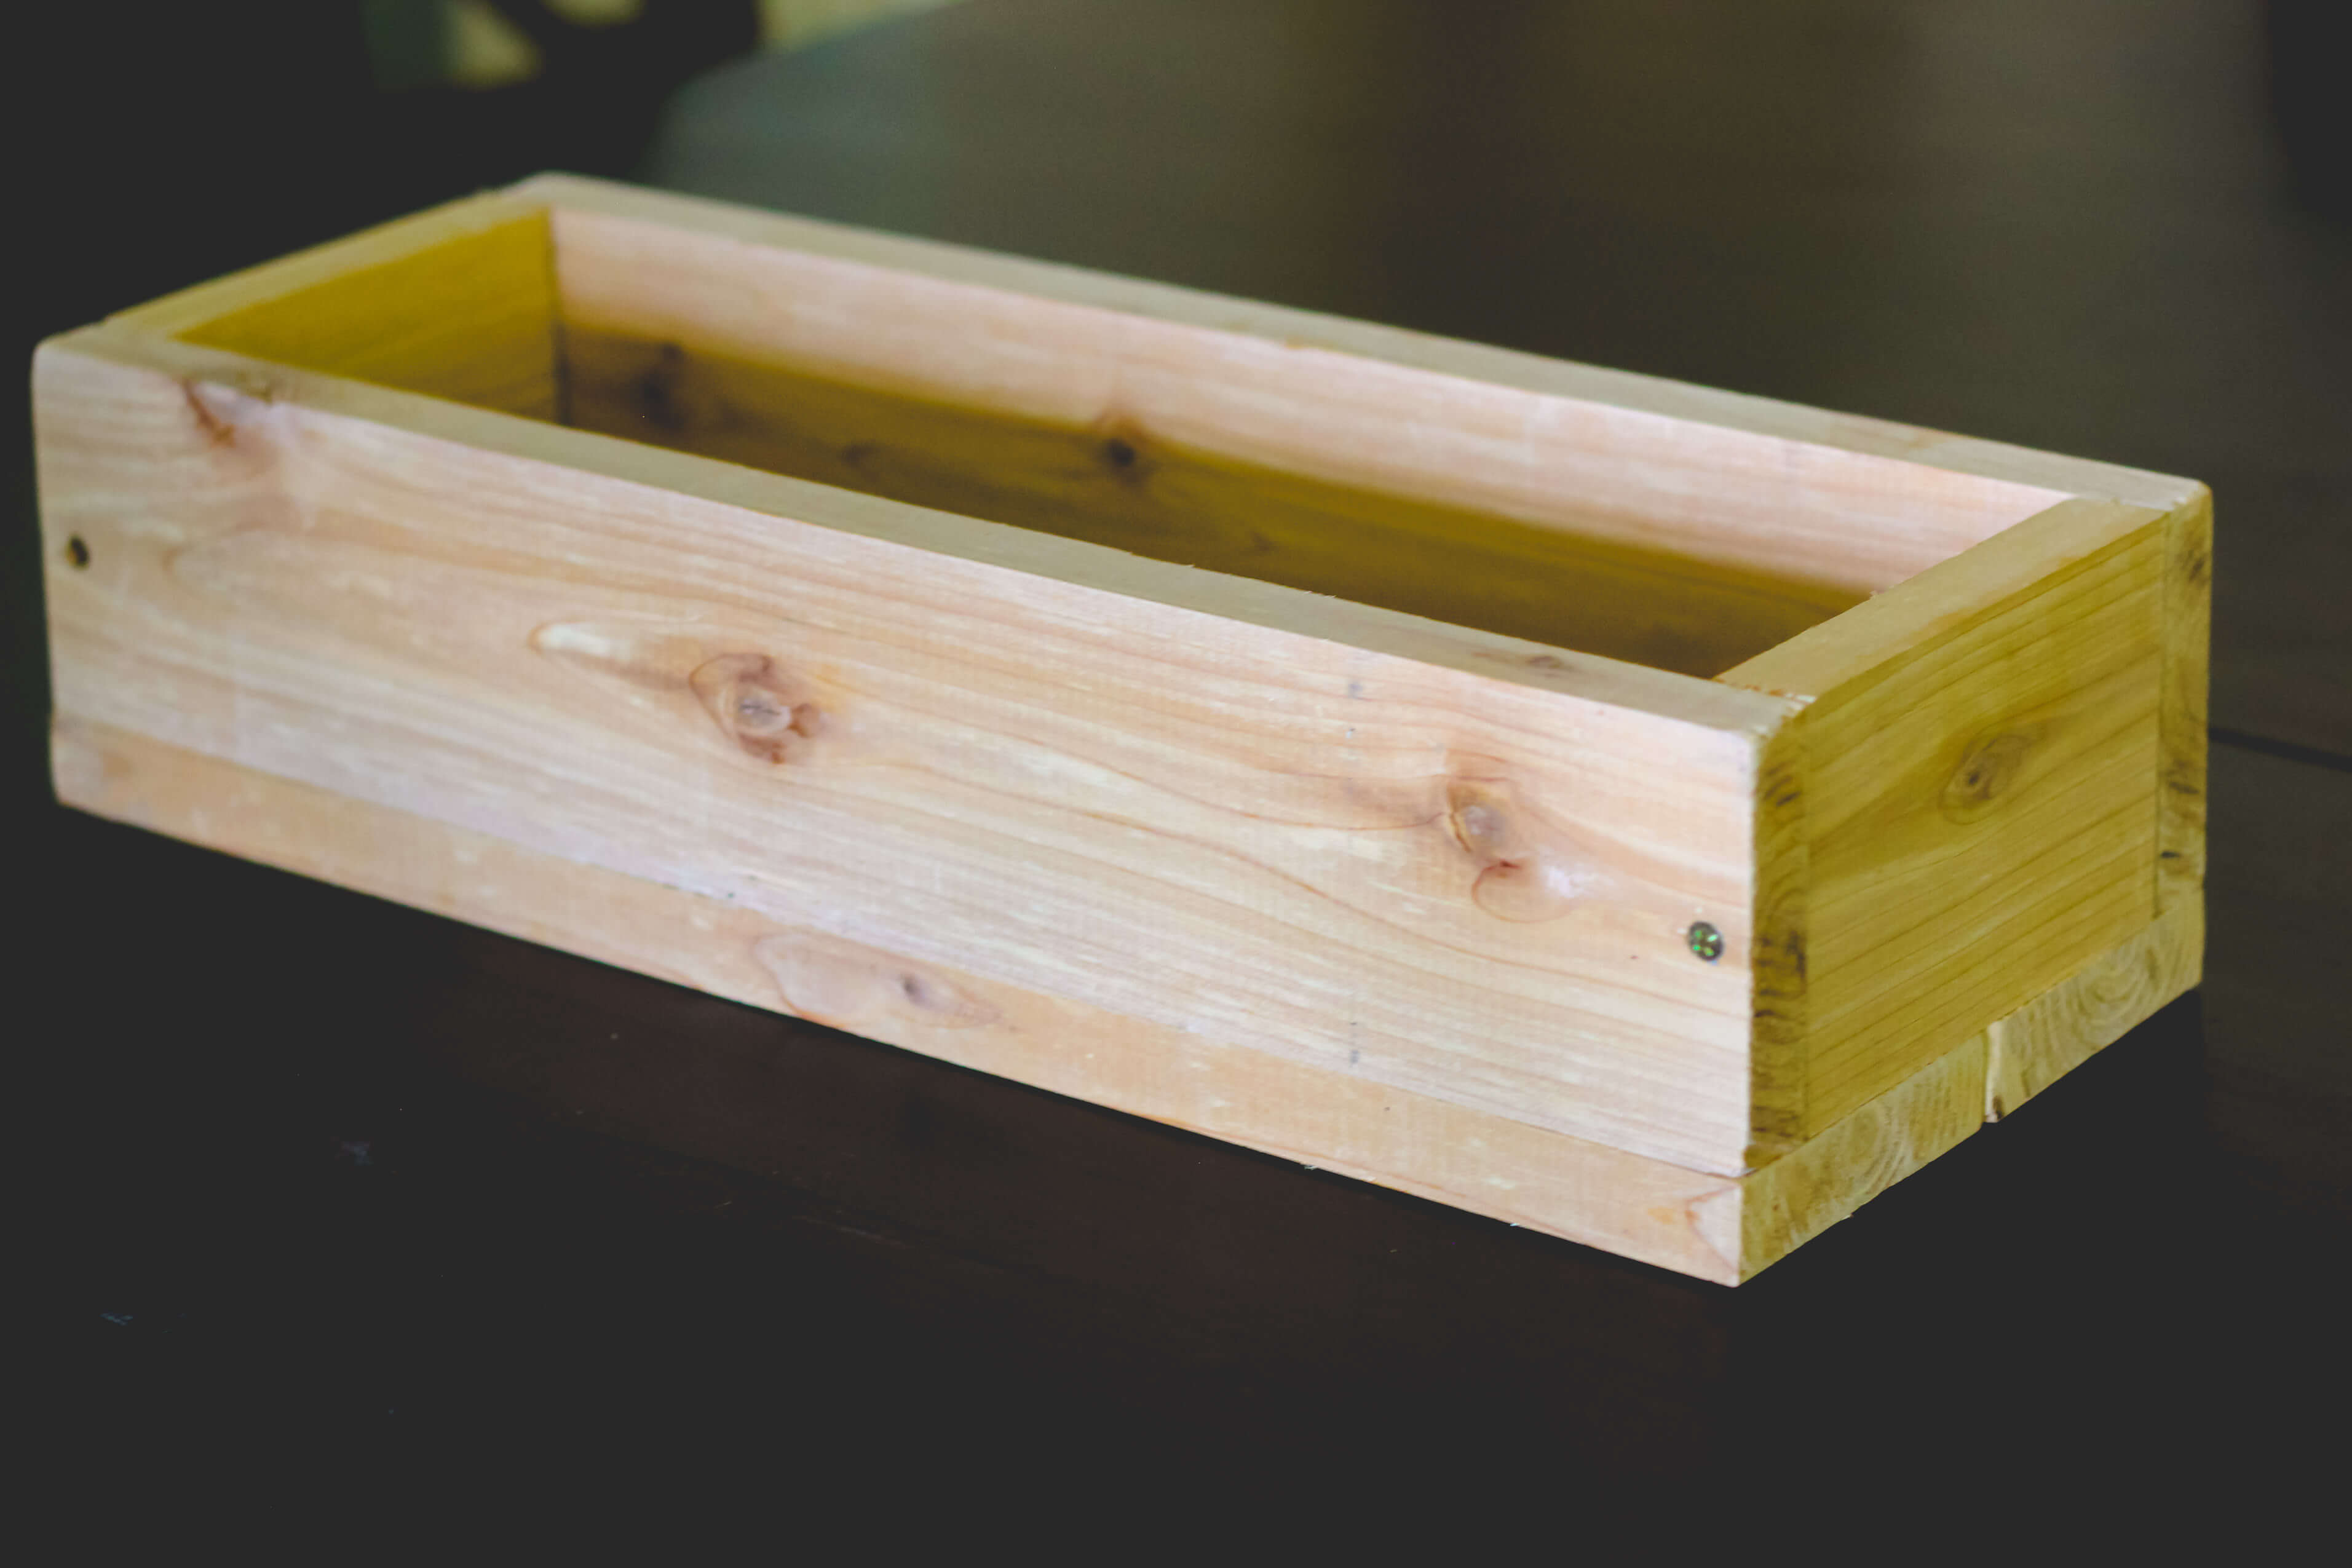
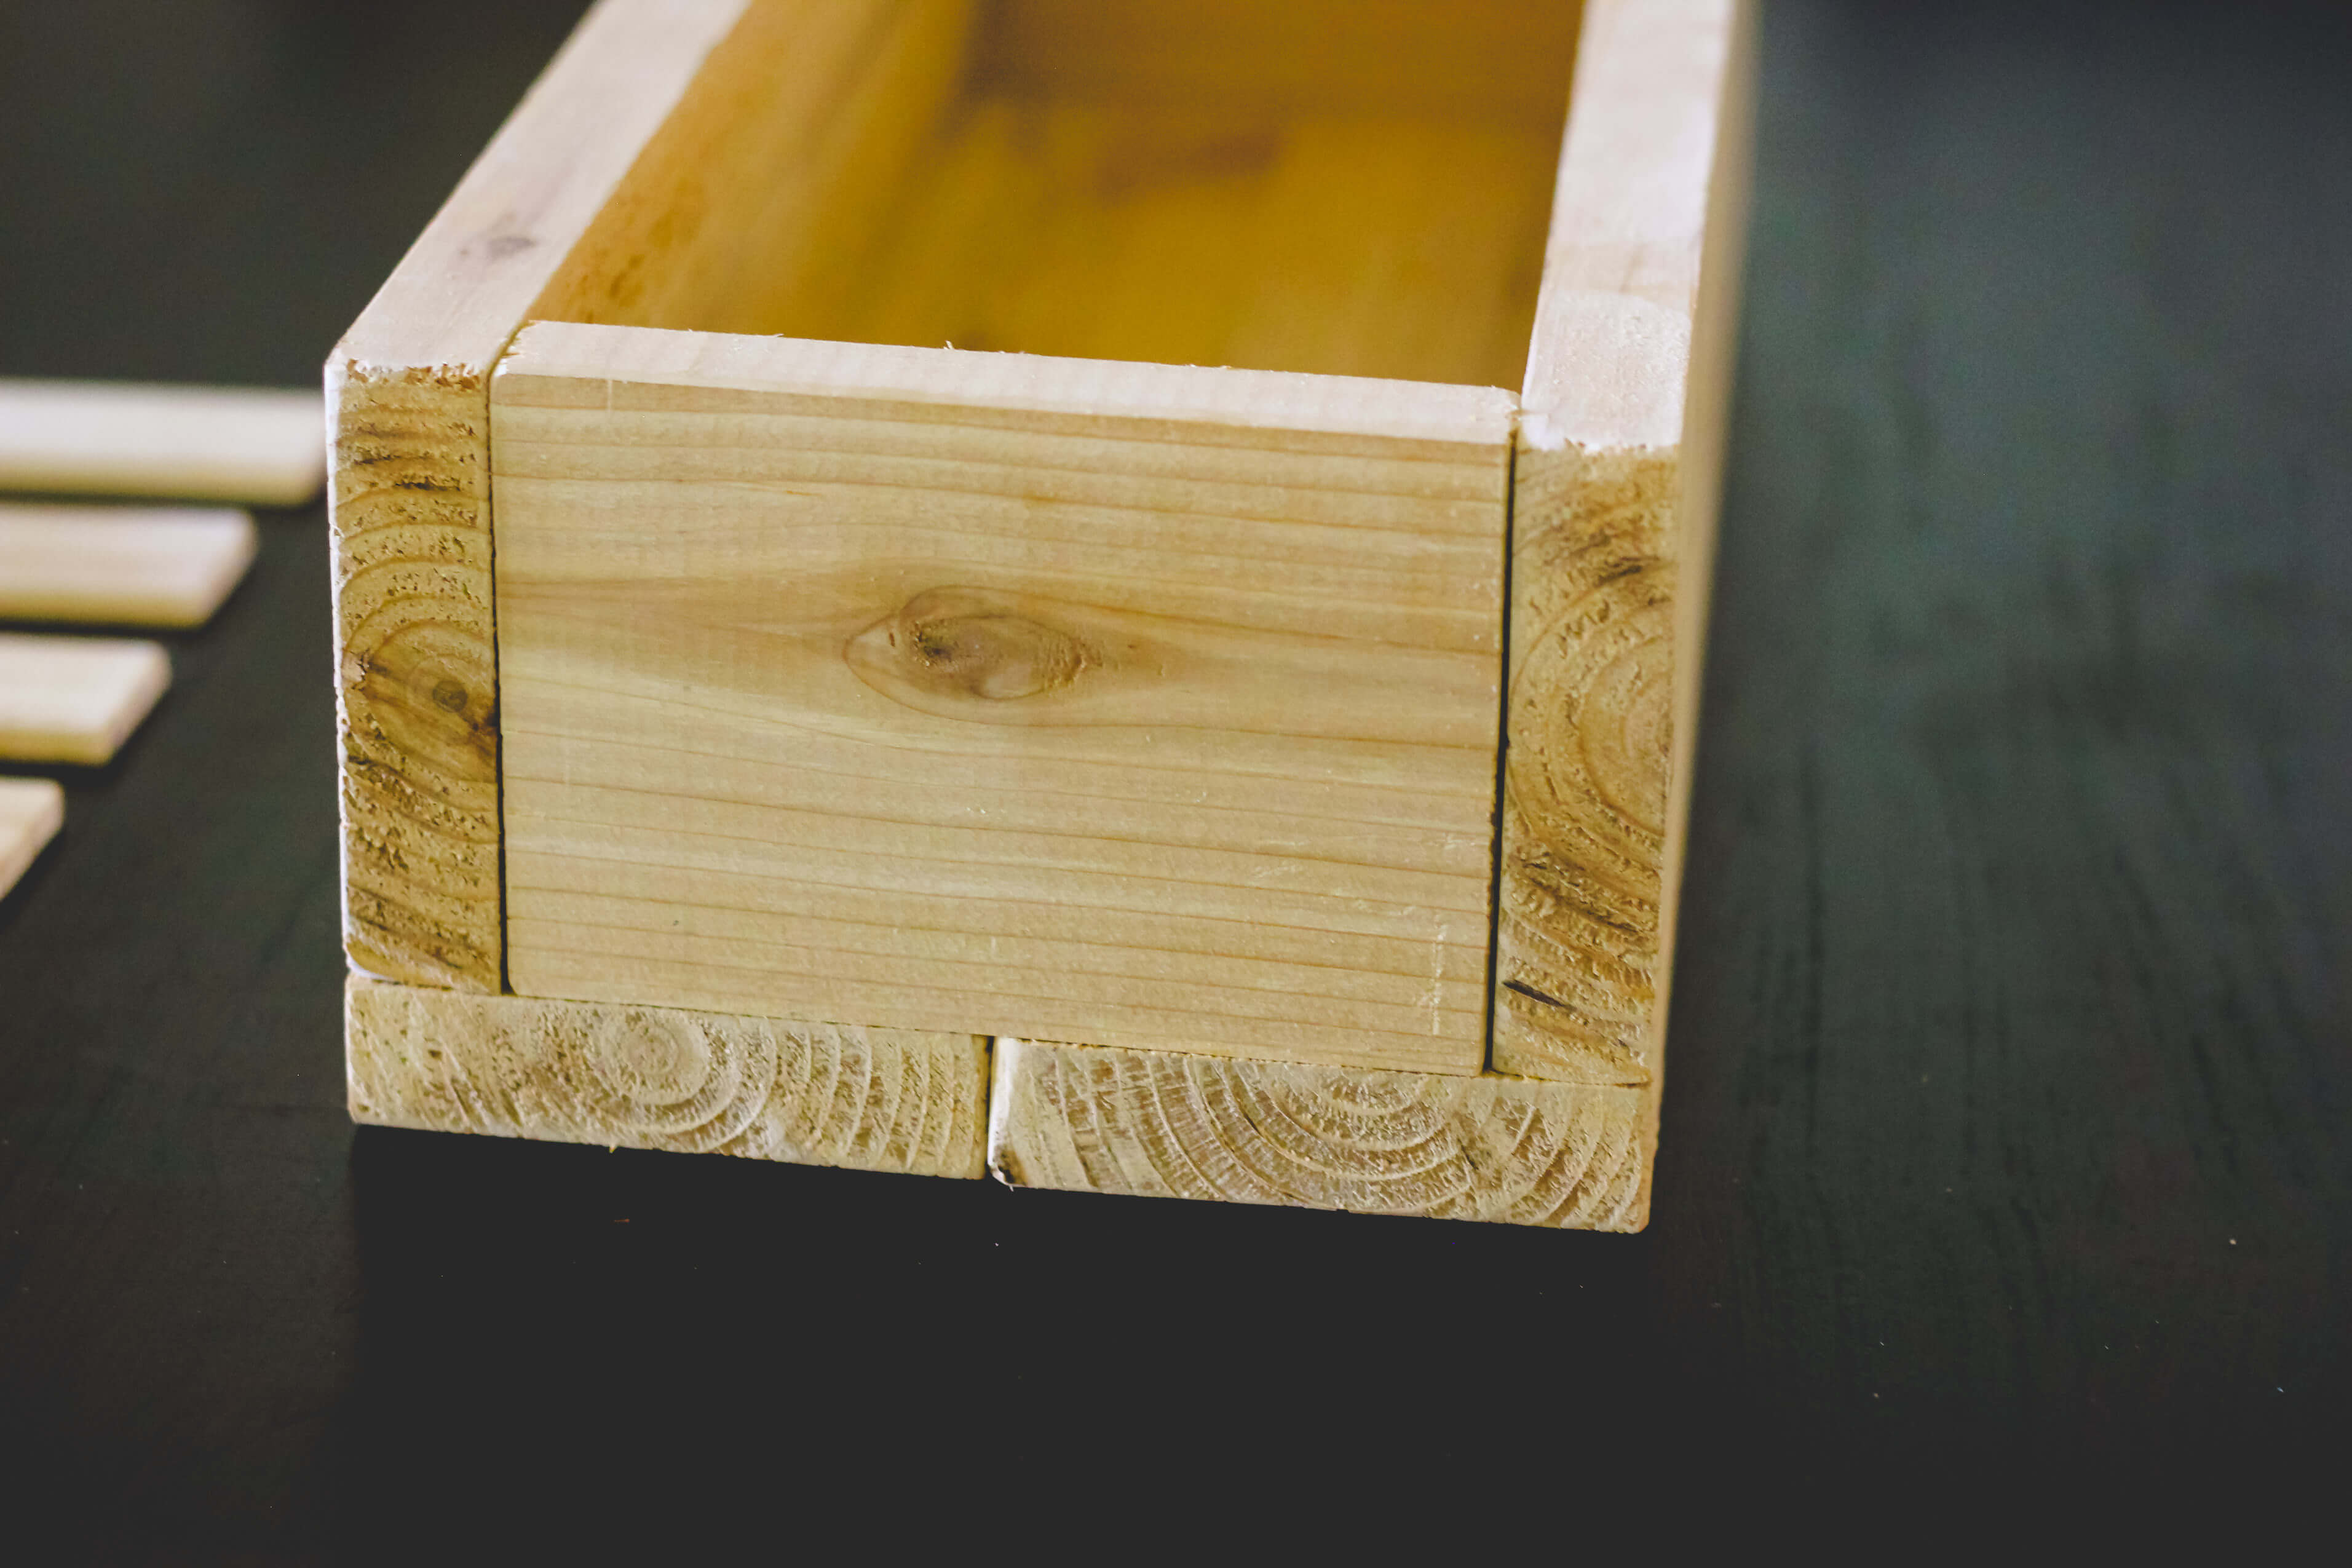
STEP 3) Screw the Succulent Planter together.
We started by screwing each bottom piece to its side. Next, we attached the ends, and finally we secured the bottom pieces to the ends. It came together really nicely!
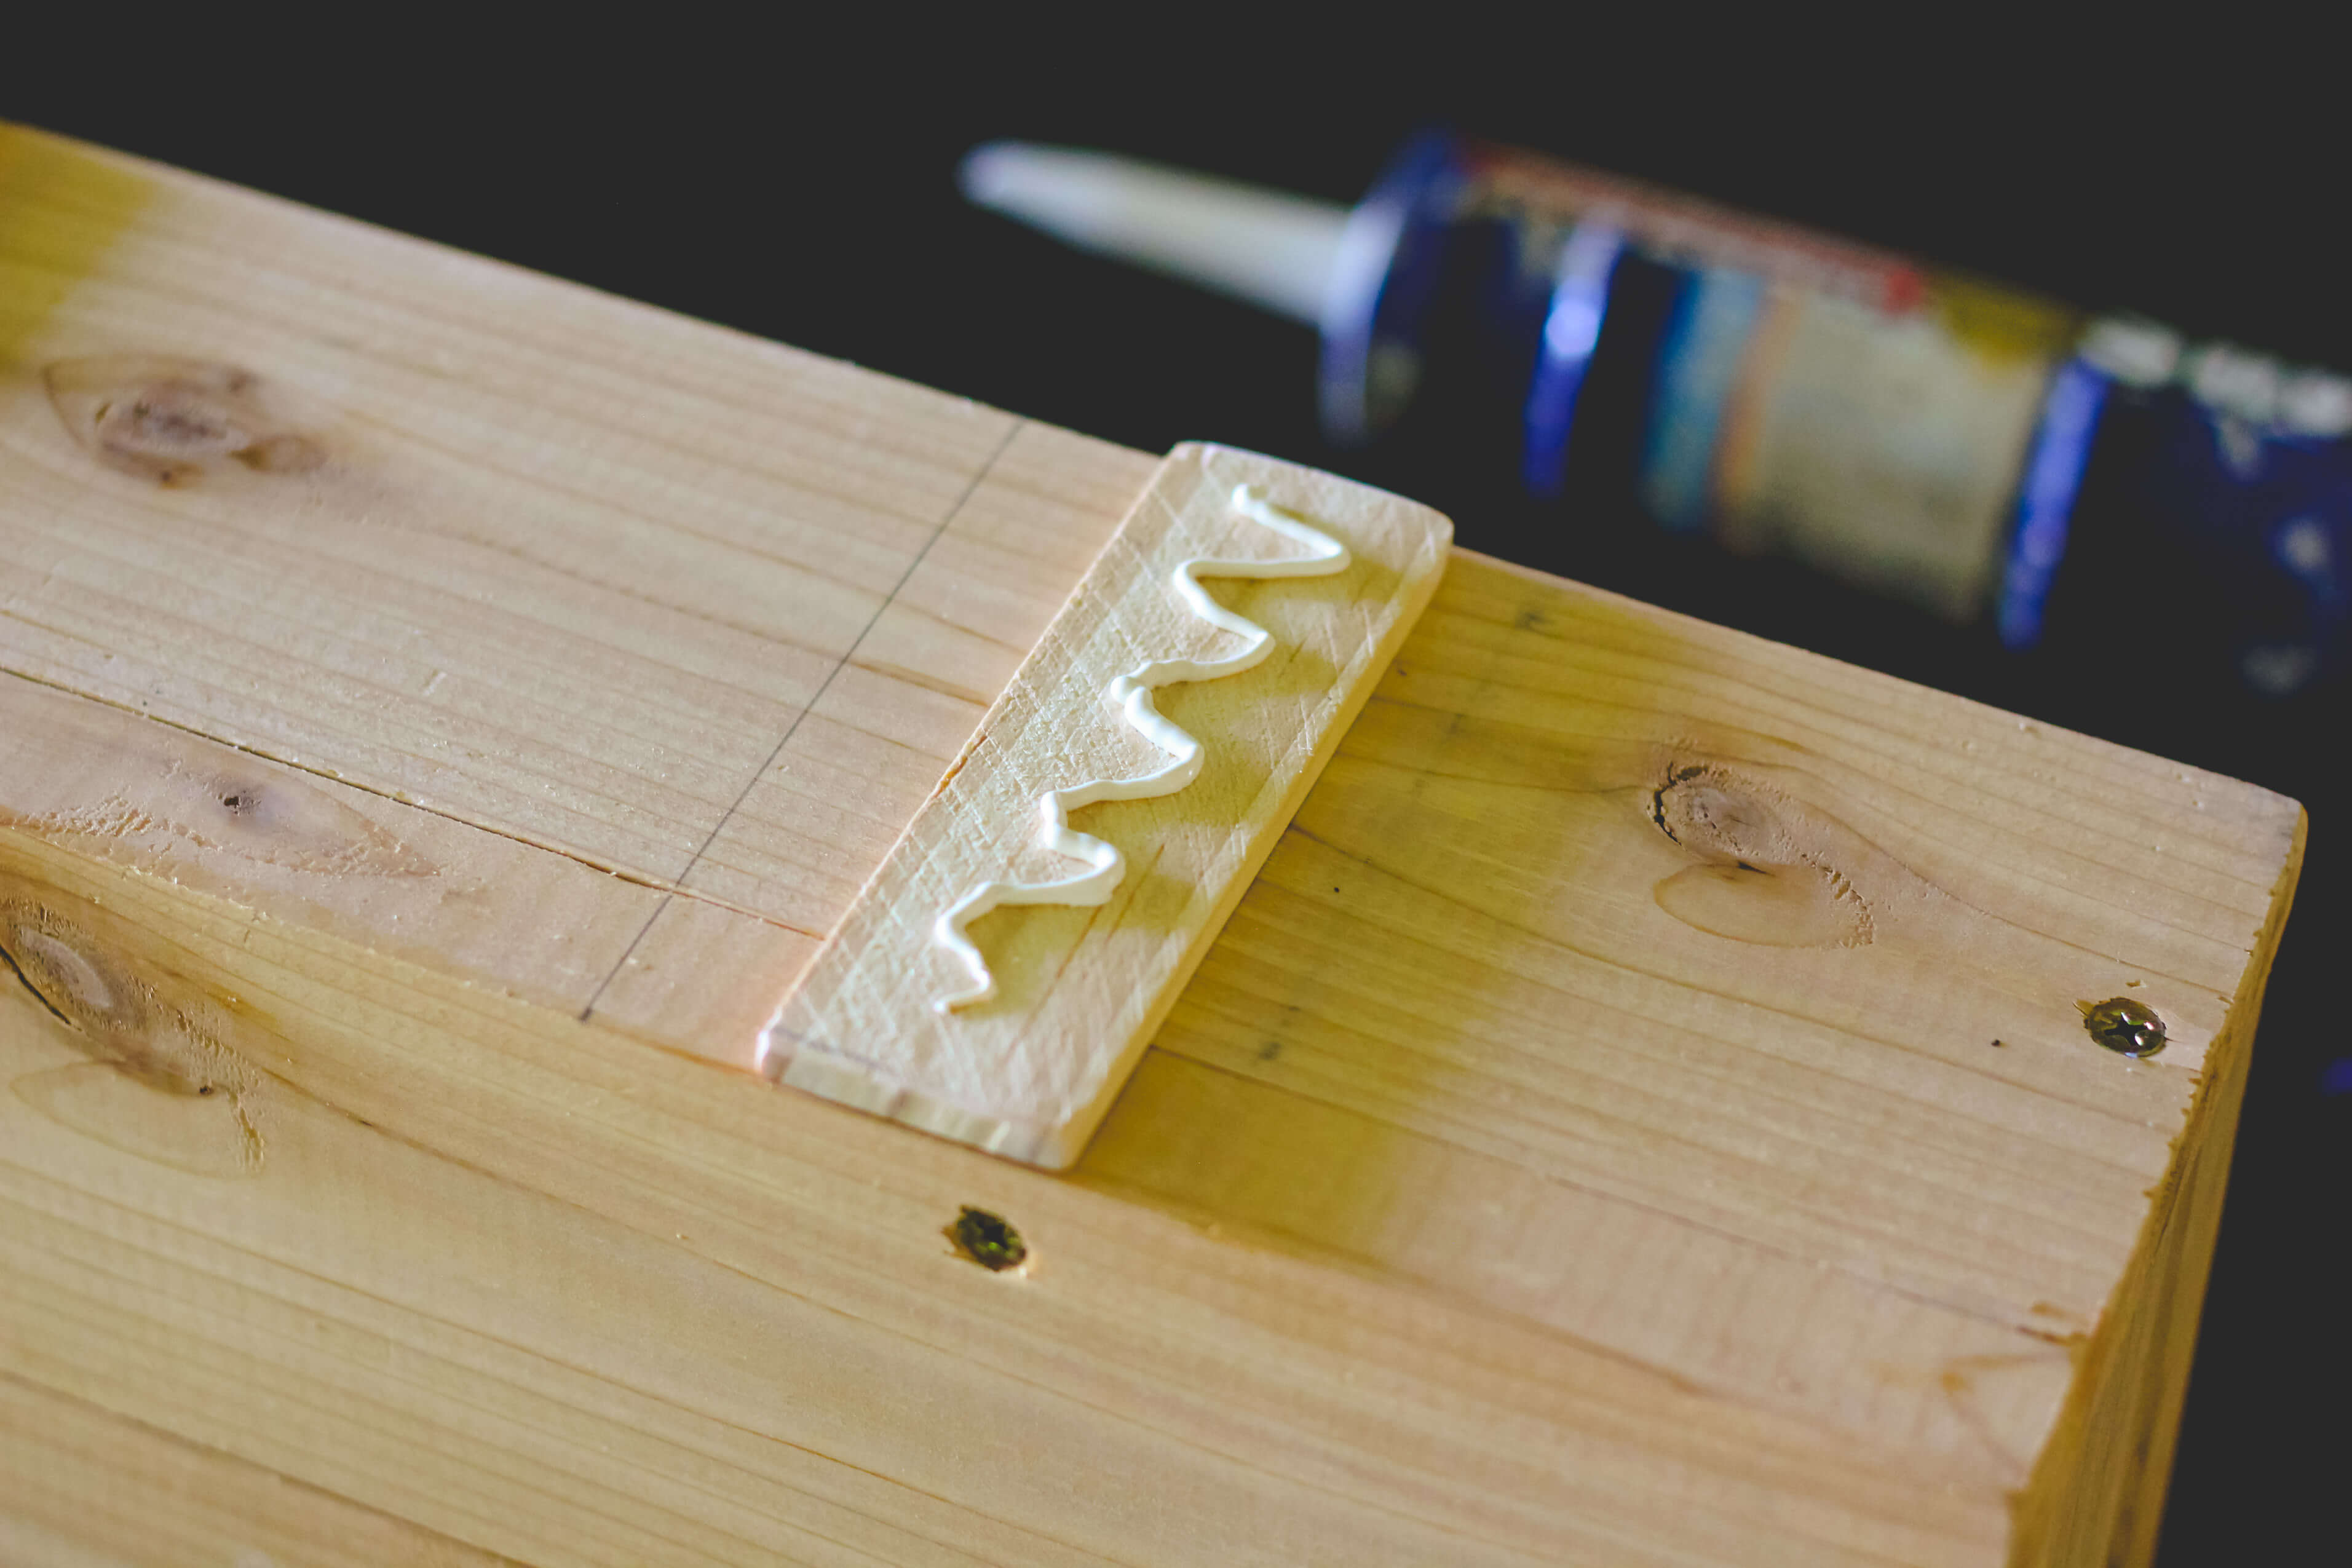
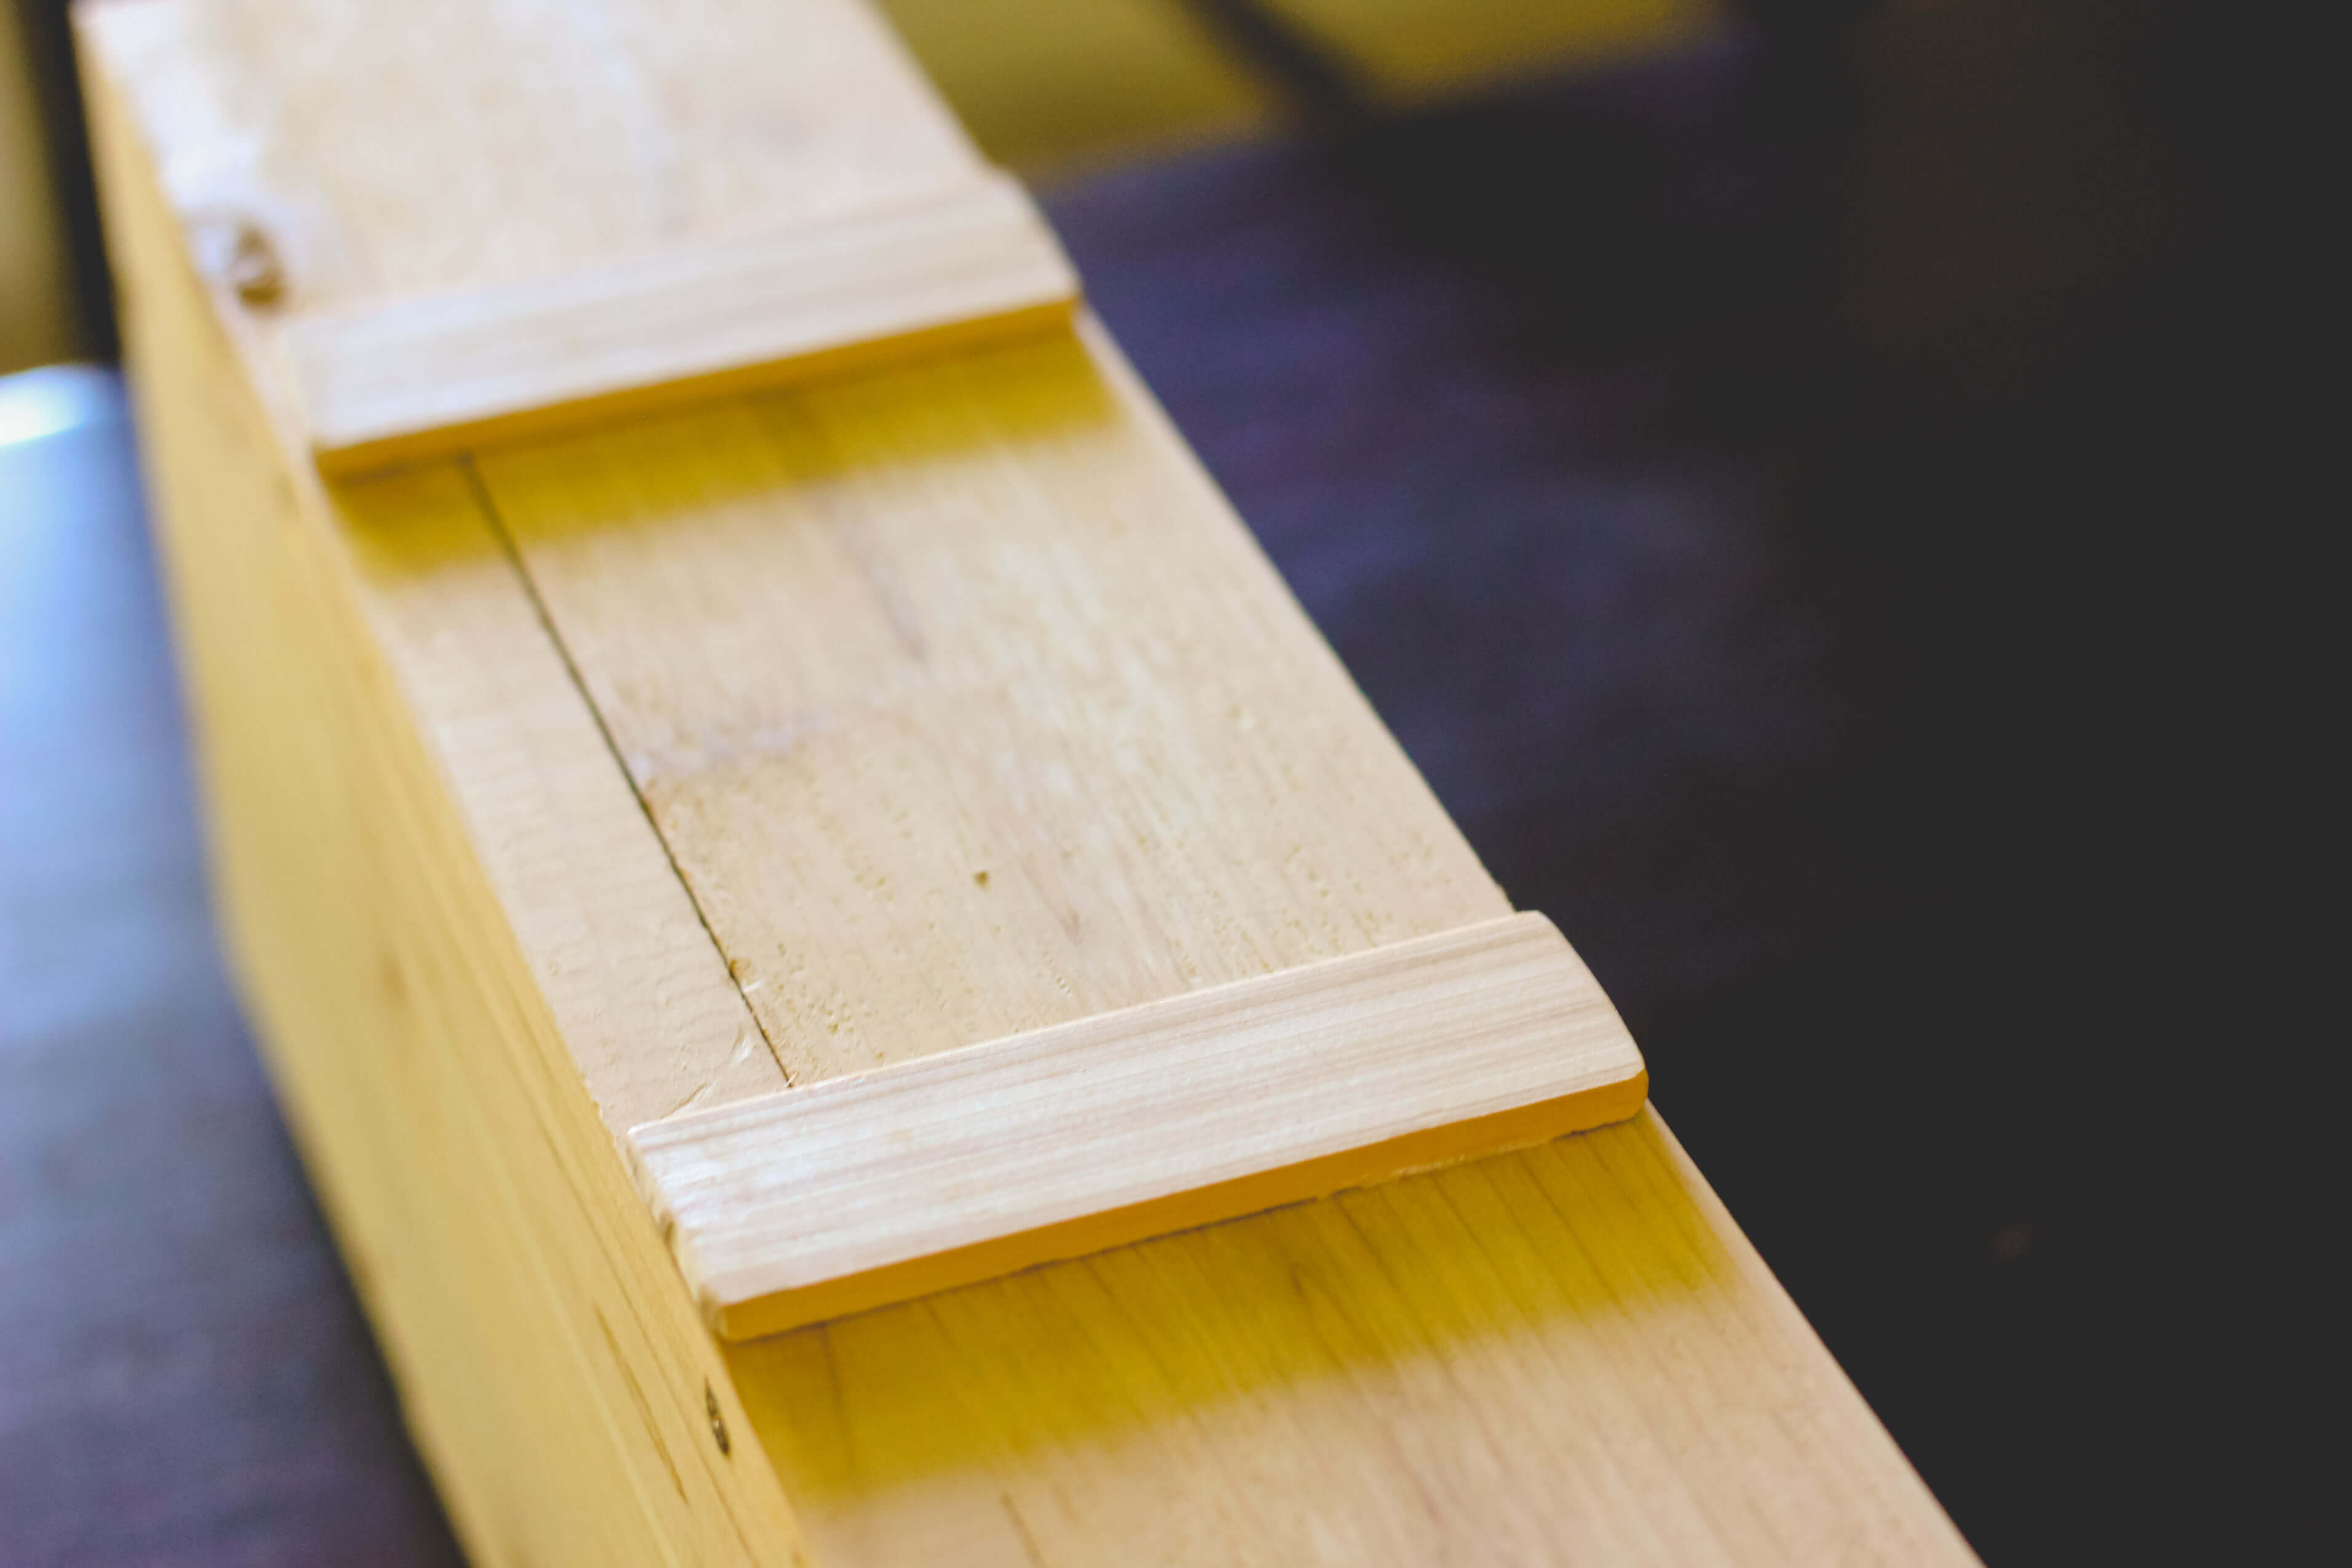
STEP 4) Attach the detail pieces.
The detail pieces of wood on the sides we attached with liquid nails, although you could use small finishing nails as well.
STEP 5) *optional* Stain or Lacquer
Once that dried, I applied a layer of clear lacquer to bring out the depth of the cedar. I love the contrast of the light with the dark wood! That’s one great thing about farmhouse style — the ability to make multiple styles of wood work for your style. (I didn’t lacquer the inside of the box because I didn’t want the soil to come in contact with chemicals.)
STEP 6) Plant your Succulents
Now comes the fun part! WOOT WOOT! There’s a lot of advice out there on planting succulents, but I settled on the simplest one, which was to use a cactus soil + small pebbles on the top. I decided NOT to screw holes in the bottom of the box for drainage because I knew it would dry out naturally from the seams in the wood and because I put a layer of pebbles on the bottom to allow for drainage. I also know not to overwater succulents, so as long as I water minimally, everything should be just fine:)
What you’ll need to plant your succulents in your new gorgeous succulent planter:
- Assorted Succulents – SO many colors!! Be still my heart, I may need to make more succulent planters.
- Cactus & Succulent soil
- Succulent food – I put an alarm in my calendar to feed my succulents once a month.
- Pebbles
Just gorgeous, isn’t it? I love it!
Maintaining your Succulents
You really want to let your succulents dry out between waterings. I have noticed that they need water about once a week. You’ll have to take your humidity and weather into account, but for the most part, just check the soil and don’t let it stay dry for a long time. On the opposite side, you can kill your succulents by over-watering, so you definitely don’t want it constantly moist. Just like watering your other plants, you really have to become familiar with them to know how often you need to water.
Good luck! May you and your succulents live happily ever after 😉

I love the design but I’m wanting a more “valentines day style” plant to go inside the container, will the planter work as well and last as long, or hold the water better? Thanks!
Hi Andy-
Other plants should work out fine. If you are choosing a variety that requires more water, it would be best to seal the wood. If you want to do this naturally, use beeswax as Nance in the comments suggested. I hope this helps! Best of luck! Thank you -Bobbi (DaNelle’s Assistant)
Hey DaNelle! This is super cute! Does it leak at all? I feel like watering the adorable succulents would result in water all over the table.. Thoughts? 🙂
Hi Abbie,
It doesn’t leak because we don’t water it a lot:)
To help preserve the wood inside the planter, it can be “painted” with melted beeswax. Your planter is a cheery house addition!
Ooh, great tip! Thanks!