If you haven’t noticed, I’ve become rather obsessed with tree-planting here on the farm.
Technically, we’re on one acre of land in the city. But we’ll always call ourselves a farm. Because, it will always better than ‘home.’
In my quest to create a sustainable lifestyle here, we’ve been diving into tree planting. I used to be so nervous about planting trees. I had no idea how much I’d need to water, and I was sure that eventually I’d kill everything.
So far we’ve planted lots of sub-tropical trees like Kent mangoes, Barbados cherries, Goldfinger bananas, and my “I love it so much I could marry it” tree, the Aravaipa avocado.
It turns out that trees and I go together well.
We’ve got this deal between us. I feed and water them… and they stay alive.
So far it’s workin’! Except for Mr. Loquat, but him and I had issues from the start. Frankly, I don’t want that kind of sass around the farm anyway.
What exactly is a “bare root” tree?
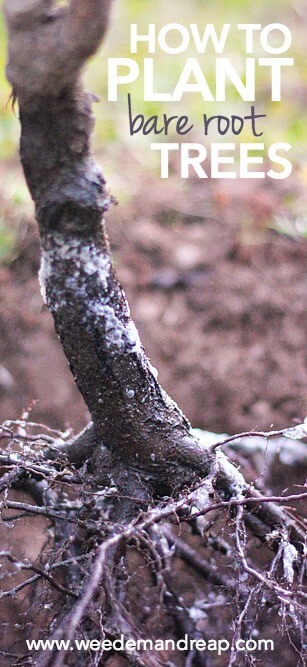
Trees that have a dormant or inactive season can be transported and sold in bare root form. This means that they’ll look sort of like a dead twig and are sold without it’s own pot and soil.
They are usually shipped during the colder season, and depending on where you live, will become available for purchase from local nurseries when you’re closing in on the end of winter. Roses are often sold in bare root form as well, if that helps jog your memory. Bare root trees can come with the roots completely exposed and dry, or wrapped in paper, or even have the roots wrapped in soil & burlap/plastic.
How to Plant Bare Root Trees
Step 1) Soak your bare root tree in plain water or a diluted fish emulsion solution for about 6 hours.
We wanted to give our bare root trees the best start possible, so we filled a 10 gallon bucket with water + 1/2 cup of fish emulsion (where to buy). This will really help your trees avoid shock when being planted into the ground.
Step 2) Prep your tree hole (not to be confused with face hole)
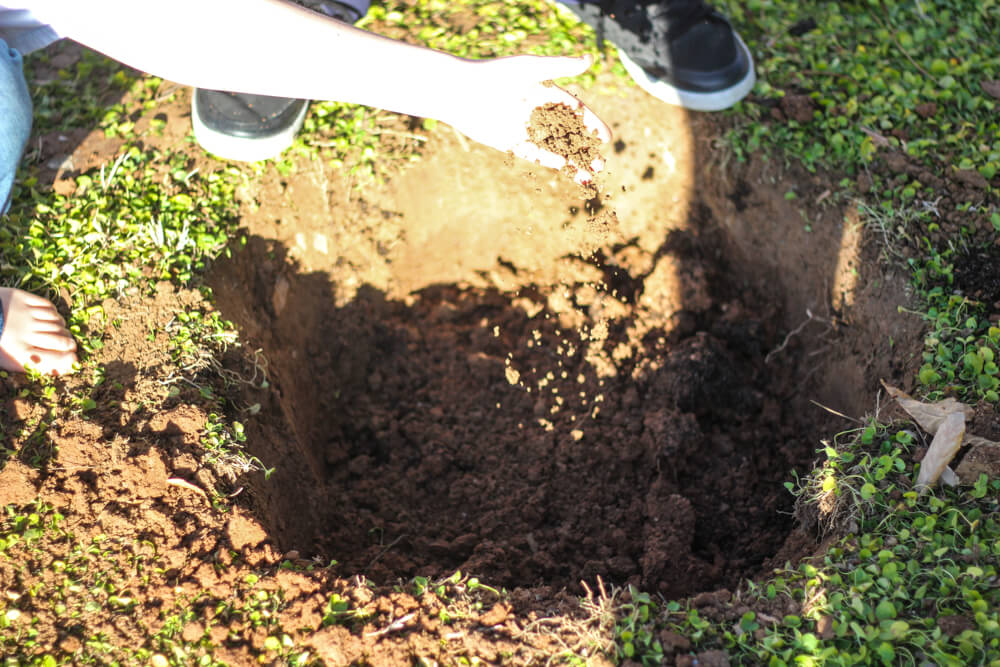
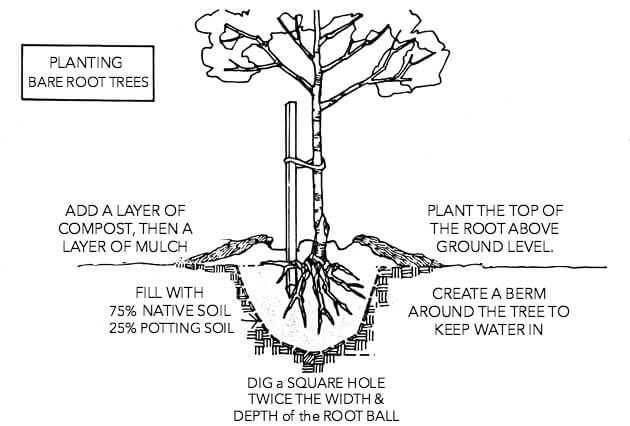
Start by digging a SQUARE hole about twice the width of your tree’s roots. As far as the depth goes, you won’t need to dig as deep as you think. Go for twice in depth as well, but don’t over do it. You’ll see why in the next step:)
A circular hole will encourage the root to climb around again and again in a spiral, but a square hole will encourage the roots to grow out to the corners and then out further. Wider roots = stronger tree, so be sure to dig a square hole.
Step 3) Fill that hole up halfway.
I know this seems crazy, but after you dig the hole for your bare root tree, you’re going to fill ‘er on back up about halfway. Your goal is to create a kinder environment for your new tree. Yes, you’ll have native soil in the hole, but you’ll also add back some other things. We like to fill our tree holes with the following:
- 3/4 native soil
- 1/4 potting soil (where to buy)
- 1/2 c. mycorrhizal fungi (where to buy)
- 1/2 c. azomite (where to buy)
- 1/2-1 bag of worm castings (where to buy)
The first two on this list help create an environment where your roots can get acclimated before they have to venture off into the depths of all that native soil. The rest of the items on the list are to help build strong roots, and provide minerals & nutrients.
NOTE: You can actually do Step 2 & 3 (digging the hole & filling it up) months in advance before you even get the tree. Encouraging the soil to become living and full of nutrients will give your trees a great head start!
Step 3) Place the tree in the hole and try your best to place the BASE of the tree SLIGHTLY ABOVE ground level.
One of the biggest mistakes that new tree planters make is that they bury their new tree TOO DEEP, which will actually suffocate the tree and cause it to die.
The roots on the base of the tree right before the trunk starts are called FEEDER ROOTS, and they need air flow and a light layer of compost followed by mulch. We’ll cover this later, but for now be sure to position the tree so that the feeder roots are slightly higher than ground level.
Step 4) Fill the hole the rest of the way with your native soil/potting soil combo.
Keep alternating native soil & potting soil as you fill up all the areas around the roots until you get to the top feeder roots.
You can pack it in slightly, just don’t go too crazy:)
Step 5) Build a berm around your tree, cover your tree’s base with mulch, and water for the first time!
A berm is important as it will keep the water around the roots. Mulch is vital for the soil to become live with worms and other microorganisms. We like to water with 1/2 cup fish emulsion diluted in a 5 gallon bucket of water.
NOTE: After your first watering, you may notice some settling of the soil. If so, just brush back the mulch and add some potting soil & native soil, then cover back up.
Step 6) Place some stakes in the ground and tie your tree to it.
It’s important to support your young tree until it’s ready to stand on it’s own. We like to use simple wooden stakes and green vinyl ribbon (where to buy).
One last tip…
See, planting bare root trees isn’t too hard, is it?
Next up on your list of adventures, How to Plant Tropical Trees!


Leave a Reply